If you are constantly testing Intune and autopilot configurations, you probably use hyper-v on your local PC or have some form of virtualization to help accomplish this. When you’re testing configs for various tenants, its usually quicker to spin up a machines with a unique VM ID & serial number for testing. I tried to automate this and make the process as efficient as I could. I ended up with a Windows 10 sysprepped VHDX file, and a PowerShell script that creates a VM with 2vCPU, 4GB RAM, connects the VM to my external vSwitch, and enables TPM (this part took me the longest to figure out).
Make your template disk:
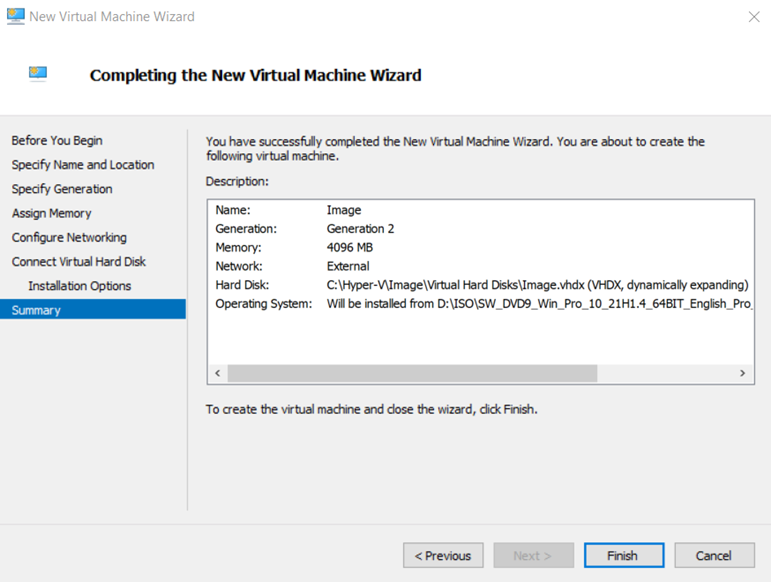
First, let’s create our initial VM disk image to use as our template. Since the primary purpose of my test machines is testing autopilot and Intune app/profile deployments, I keep it lightweight with 2 vCPU, 4 GB, and a 40GB disk. The specs on this machine don’t really matter since we will be deleting it after we get our disk image, but I set the hardware the same I use for my test machines anyway. I also recommend to disable checkpoints/snapshots before starting the VM for the first time.
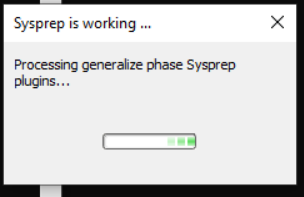
Install your desired version of Windows and update your OS. I use Windows 10 Pro for most of my work, so that’s the version I chose. Once your OS is updated, we need to sysprep the image. Before sysprep, remove any mounted ISO files you used for the OS install. I also install the script get-windowsautopilotinfo since I test autopilot often (this installs the script on the disk image and saves you from having to install the script every time you make a new test machine). To sysprep the machine, open a command prompt and navigate to c:\windows\system32\sysprep and launch sysprep.exe. Make sure you check the box to generalize and make the shutdown option to shutdown the PC.


Wait for the sysprep to finish and the VM to be shutdown:
Once the VM completes sysprep and powers off, we want to copy the VHDX file. This is the only component we are interested in since it has our sysprepped windows 10 install. Navigate to the VHDX file and move/copy it into another directory. Once the VHDX is copied, you can delete the VM and its files we used to build this. I moved my vhdx to a directory c:\hyper-v\w10_image\ on my PC. All you need is the VHDX file:

The script to make our test machine:
Now that we have our disk image, we will use it as our template when creating our new test machines. The script is available on github and accomplishes the list of items below. When it finishes, you can power up your VM and it will go through OOBE. It will already contain the get-windowsautopilotinfo script, so you can get testing quickly without any additional steps. The script can be edited to adjust hardware as needed. You’ll need to change the name of the vswitch if your vswitch is not named external.
- Prompts for the name of your new VM
- Copies your template disk file to c:\hyper-v\$vmname
- Assigns the VM to have 4 GB of RAM and 2 vCPU
- Connects to the vswitch named external
- Connects the VM to the newly copied and renamed VHDX
- Sets the VHDX as the boot device
- Disables checkpoints on the VM
- Enables TPM
Script syntax is below:
$VMName = Read-Host 'Name your VM'
New-Item -Path C:\Hyper-V\ -Name "$VMname" -ItemType Directory -Force
Copy-Item -Path "C:\Hyper-V\W10_image\image.vhdx" -Destination "C:\Hyper-V\$VMname\$vmname.vhdx" | Out-Null
New-VM -Name $VMName -Path C:\Hyper-V\$VMName -MemoryStartupBytes 4GB -VHDPath "C:\Hyper-V\$VMname\$vmname.vhdx" -Generation 2 -BootDevice VHD
Set-VM -Name $VMName -ProcessorCount 2
Set-VMMemory $VMName -DynamicMemoryEnabled $false
Set-VM -Name $VMName -CheckpointType Disabled
Connect-VMNetworkAdapter -VMName $VMName -SwitchName External
#TPM
$HGOwner = Get-HgsGuardian UntrustedGuardian
$KeyProtector = New-HgsKeyProtector -Owner $HGOwner -AllowUntrustedRoot
Set-VMKeyProtector -VMName $VMName -KeyProtector $KeyProtector.RawData
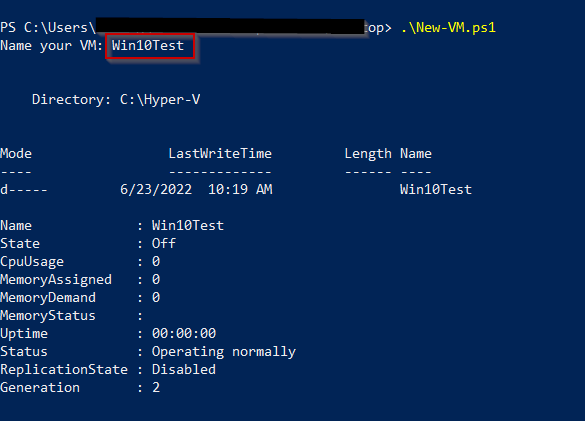
Enable-VMTPM $VMNameHere is how the script looks when executed from PowerShell (must run from admin powershell):
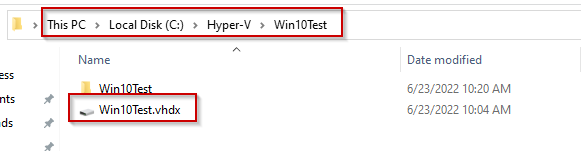
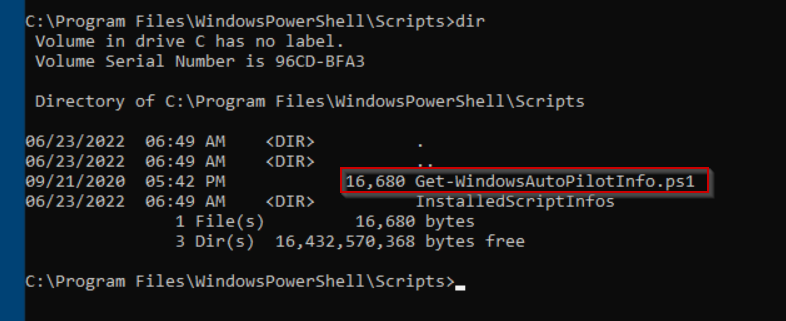
Here is the newly created directory and contents:
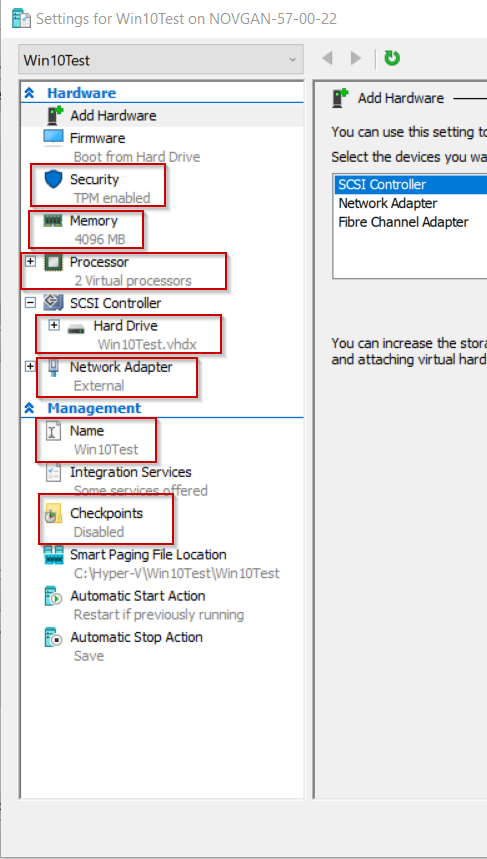
Let’s look at the VM settings to make sure everything was automatically configured properly with the script:
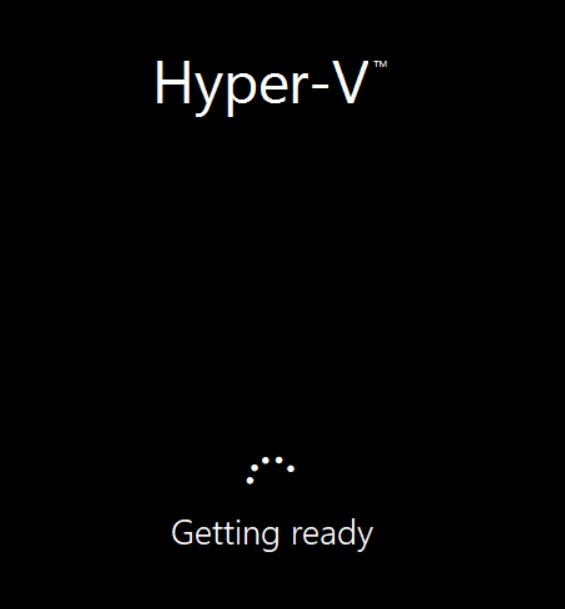
If we startup the VM, you’ll have a minute or two of Windows startup before hitting the OOBE:
If you will be testing autopilot, we already installed the script get-windowsautopilotinfo before sysprepping, so you can open powershell and enroll this device in your target tenant right away.
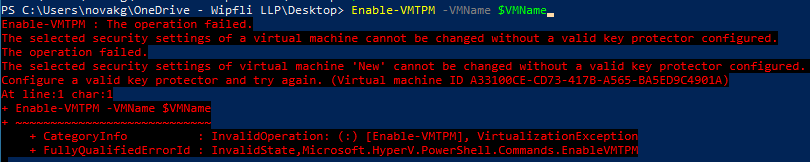
Enabling TPM with powershell
Getting TPM enabled through powershell took me a little while to figure out. If you simply try using the “Enable-VMTPM” command, you will get the below error. You need to create a valid key protector first:
It took some googling and testing before I found the fix. For anyone interested. Here are the resources I used to get the TPM enabled through the script:
- https://docs.microsoft.com/en-us/powershell/module/hgsclient/new-hgskeyprotector?view=windowsserver2022-ps
- https://docs.microsoft.com/en-us/powershell/module/hyper-v/set-vmkeyprotector?view=windowsserver2022-ps
- https://techgenix.com/virtual-machines-to-windows-11-using-powershell/
Pingback: Endpoint Manager Newsletter – 1st July 2022 – Andrew Taylor