Updated 5/24/2023 – New Custom Detection Script to update your images without updating your Win32 App
I recently had a client come to me asking about setting the wallpaper and lock screen, which is a fairly simple task by following the original post content under this section. However, they had several business units where they wanted different images deployed, and they planned on changing the images regularly. The challenge here became trying to find a way to easily change these images without having to change our install script and repackage the Win32 app every time. A proactive remediation would also be great here. However, this particular client was not licensed for Proactive Remediations. Therefore, I had to use a Win32 App.
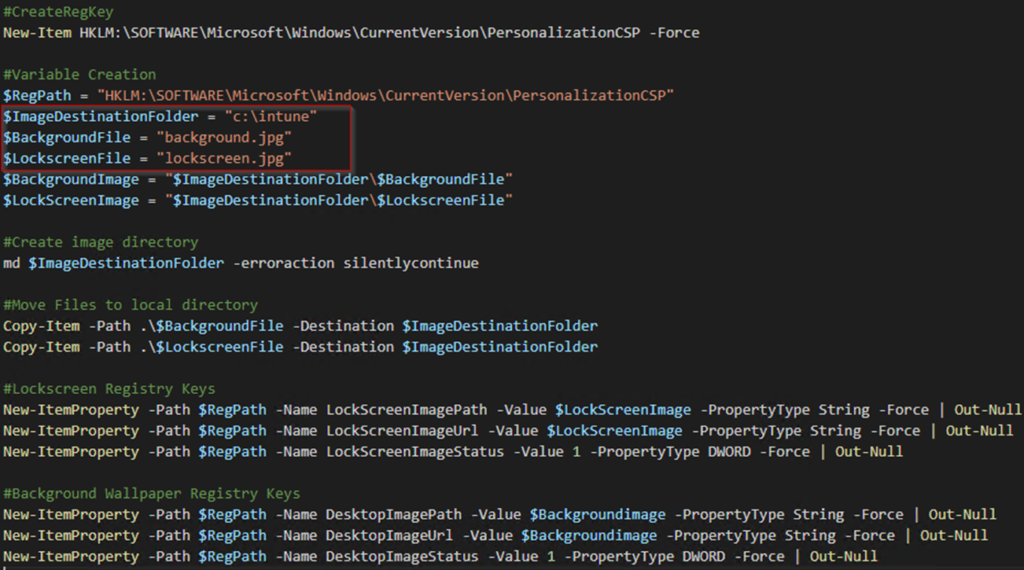
They already had the images they wanted to use on blob storage. So, they were easily accessible to set with this script linked below from my github. For reference, the syntax is below. Basically, this creates our necessary registry key and values, downloads the images from blob storage, and uses those images for our background and lockscreen:
New-Item HKLM:\SOFTWARE\Microsoft\Windows\CurrentVersion\PersonalizationCSP -Force
#Variable Creation
$RegPath = "HKLM:\SOFTWARE\Microsoft\Windows\CurrentVersion\PersonalizationCSP"
$BackgroundImageURL = 'https://yourstorageaccount.blob.core.windows.net/wallpaper/background.jpg'
$LockscreenImageURL = 'https://.blob.core.windows.net/wallpaper/lockscreen.jpg'
$ImageDestinationFolder = "C:\temp\images"
$Backgroundimage = "$ImageDestinationFolder\background.jpg"
$LockScreenImage = "$ImageDestinationFolder\Lockscreen.jpg"
#Create image directory
md $ImageDestinationFolder -erroraction silentlycontinue
#Download image file
Start-BitsTransfer -Source $BackgroundImageURL -Destination "$Backgroundimage"
Start-BitsTransfer -Source $LockscreenImageURL -Destination "$LockScreenimage"
#Lockscreen Registry Keys
New-ItemProperty -Path $RegPath -Name LockScreenImagePath -Value $LockScreenImage -PropertyType String -Force | Out-Null
New-ItemProperty -Path $RegPath -Name LockScreenImageUrl -Value $LockScreenImage -PropertyType String -Force | Out-Null
New-ItemProperty -Path $RegPath -Name LockScreenImageStatus -Value 1 -PropertyType DWORD -Force | Out-Null
#Background Wallpaper Registry Keys
New-ItemProperty -Path $RegPath -Name DesktopImagePath -Value $backgroundimage -PropertyType String -Force | Out-Null
New-ItemProperty -Path $RegPath -Name DesktopImageUrl -Value $backgroundimage -PropertyType String -Force | Out-Null
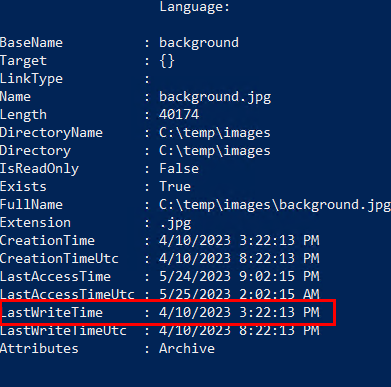
New-ItemProperty -Path $RegPath -Name DesktopImageStatus -Value 1 -PropertyType DWORD -Force | Out-NullPretty simple, but now I had to determine a way to easily update these images without repacking everything. That’s where the new custom detection script came in. I needed to find something unique about these files I could use. That’s when I thought of using one of the file properties if we use PowerShell to look at file details:
get-itemproperty -path c:\temp\images\background.jpg | FL * We can look at the date and time the file was modified. This value will differ between the images as they replace the background and lockscreen images:
So our new custom detection script was born and is available on github here and the syntax is below. The key here is the images used for background and lockscreen must always be named background.jpg and lockscreen.jpg as they’re replaced. This keeps the install and detection scripts unchanged and requires no repackaging of the Win32 app or updating of the detection script. The detection script creates a temporary directory, downloads the current version of the background.jpg and lockscreen.jpg from blob storage, and compares the modified timestamp on the file to the files in use on the workstation. If they match, the script detects the images are correct. If the dates don’t match, then the images have been updated on the storage account, and the install script will be re-run to pull the latest images down for the background and lock screen.
$BackgroundImageURL = 'https://yourstorageaccount.blob.core.windows.net/wallpaper/background.jpg'
$LockscreenImageURL = 'https://yourstorageaccount.blob.core.windows.net/wallpaper/lockscreen.jpg'
$ImageDestinationFolder = "C:\temp\images\temp"
$Backgroundimage = "$ImageDestinationFolder\background.jpg"
$LockScreenImage = "$ImageDestinationFolder\Lockscreen.jpg"

#Create Temp Image Directory
md $ImageDestinationFolder -erroraction silentlycontinue

#download images
Start-BitsTransfer -Source $BackgroundImageURL -Destination "$Backgroundimage"
Start-BitsTransfer -Source $LockscreenImageURL -Destination "$LockScreenimage"

#Get Timestamps from downloaded images. This checks to see if there have been updates
$blobbackground = Get-ItemProperty "$backgroundimage" | Select-Object -ExpandProperty LastWriteTime
$bloblockscreen = Get-ItemProperty "$lockscreenimage" | Select-Object -ExpandProperty LastWriteTime

#Checks last modified timestamp of the current files and looks for correct registry values
$backgrounddate = Get-ItemProperty "C:\TEMP\images\background.jpg" | Select-Object -ExpandProperty LastWriteTime
$lockscreendate = Get-ItemProperty "C:\TEMP\images\lockscreen.jpg" | Select-Object -ExpandProperty LastWriteTime

$reg1 = Get-ItemPropertyValue "HKLM:\SOFTWARE\Microsoft\Windows\CurrentVersion\PersonalizationCSP" -Name "DesktopImagePath"
$reg2 = Get-ItemPropertyValue "HKLM:\SOFTWARE\Microsoft\Windows\CurrentVersion\PersonalizationCSP" -Name "DesktopImageStatus"
$reg3 = Get-ItemPropertyValue "HKLM:\SOFTWARE\Microsoft\Windows\CurrentVersion\PersonalizationCSP" -Name "DesktopImageUrl"
$reg4 = Get-ItemPropertyValue "HKLM:\SOFTWARE\Microsoft\Windows\CurrentVersion\PersonalizationCSP" -Name "LockScreenImagePath"
$reg5 = Get-ItemPropertyValue "HKLM:\SOFTWARE\Microsoft\Windows\CurrentVersion\PersonalizationCSP" -Name "LockScreenImageStatus"
$reg6 = Get-ItemPropertyValue "HKLM:\SOFTWARE\Microsoft\Windows\CurrentVersion\PersonalizationCSP" -Name "LockScreenImageUrl"

#cleanup temp dir
Remove-Item -Path $ImageDestinationFolder -Recurse -Force

If (($lockscreendate -eq $bloblockscreen) -and ($backgrounddate -eq $blobbackground) -and ($reg2 -and $reg5 -eq $true) -and ($reg1 -and $reg3 -eq "C:\temp\images\background.jpg") -and ($reg4 -and $reg6 -eq "C:\temp\images\lockscreen.jpg"))
{
    Write-Output "Detected"
    exit 0
}
else {
    Write-Output "Image files outdated or missing Registry Values"
    exit 1
}
Intro – Original Post (6/21/22)
I’ve seen a lot of questions on reddit about this over the last couple of weeks and ran into this exact question several months ago. I figured I’d share how I resolved this. The easiest way to set the desktop background image with Intune is by using a device restriction profile and pointing to a URL with the image you want to use. Easy, right? Well, this is limited to Ent/Edu versions. If you try applying this profile to Windows 10 Pro, you will receive a “not applicable” error for the installation status of the profile. So, we have to figure out another way to do this.
All roads usually lead back to the registry for these types of things. So, we need to identify which keys and/or values are being added to control these settings. I created a test VM running Windows 10 EDU, and applied the device restriction profile against the test PC. You can see in the screenshots below, my Pro machines give “not applicable”, but the EDU VM is successful.

I spent a while trying to find the reg keys this policy created/edited in the intune logs and through the generated diagnostic logs, but had no luck. So, I wiped the test device and before I applied the profile again, I grabbed a snapshot of the registry using the Nirsoft tool RegistryChangesView (RegistryChangesView – Compare snapshots of Windows Registry (nirsoft.net)). This tool allows you to compare a previous version of the registry to the current version and see the differences. Shortly after the policy was applied, I compared the registry from before and after. It didn’t take long to see the key and values that were created. These values are all under HKLM\Software\Microsoft\Windows\CurrentVersion\PersonalizationCSP.

Back on my Windows 10 Pro VM, that key doesn’t exist. So, my first test was to write a script that created the PersonalizationCSP registry key and the values for background and lockscreen images. After testing the script, and rebooting the PC, the lockscreen and desktop images were set. Now that we have a working script, we can try deploying lock screen and desktop images through Intune. I will be using a Win32 app for this. You can deploy as a powershell script, but then you don’t get any detection rules ☹.
Script & Win32 App
I have two scripts that accomplish the same end result. One downloads your desired images from the internet using a specified URL. The other uses a local image file and packages it in the Win32 app. I personally prefer using the local file and packaging everything as a Win32 app. The Win32 app creation is the same, so its personal preference which script you use. Both scripts are on my github along with an uninstall script that removes the reg values and key. (https://github.com/gnon17/MS-Cloud-Scripts/tree/main/intune/Set-WallpaperLockscreen). Change the variables to match your file names (or rename your files to match those). Change the destination folder for the images to something else if you’d like:
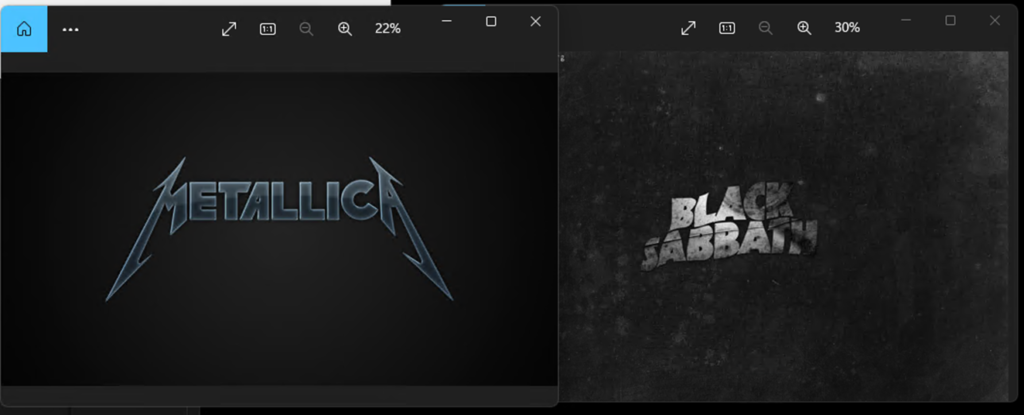
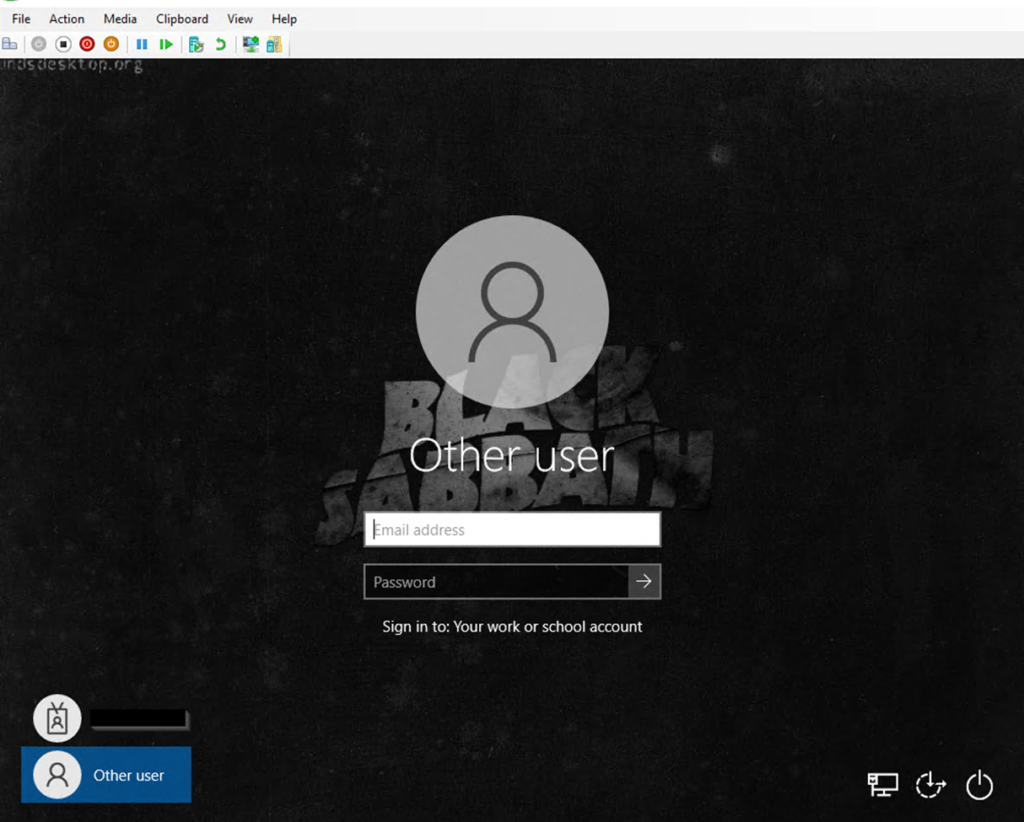
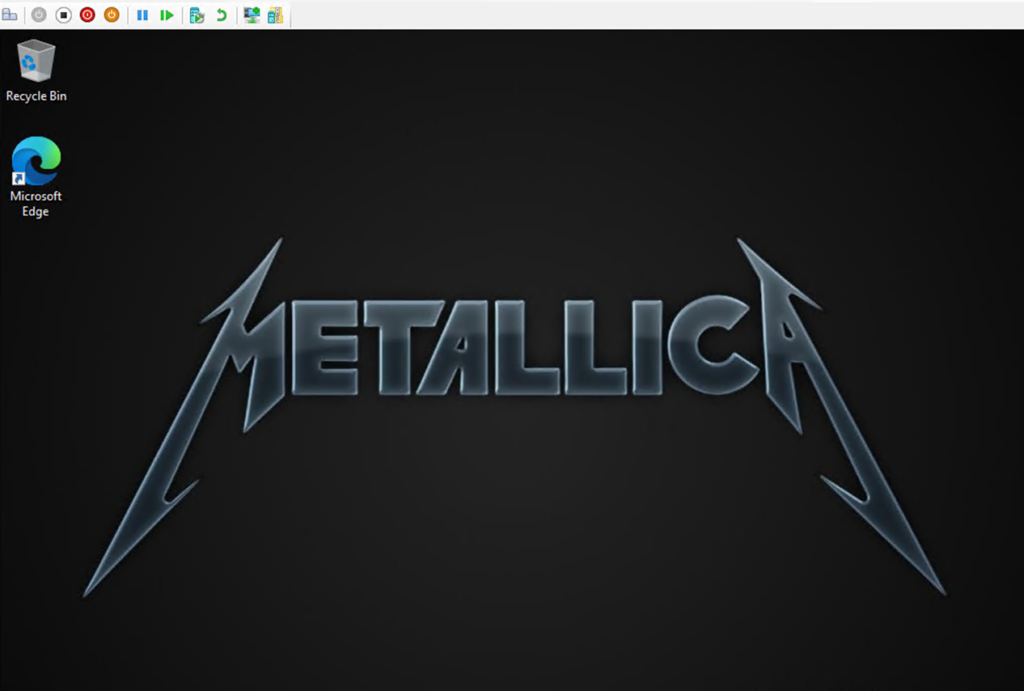
Take the script, the uninstall script, and your image files and put them in the same directory. Here are my background and lockscreen images:
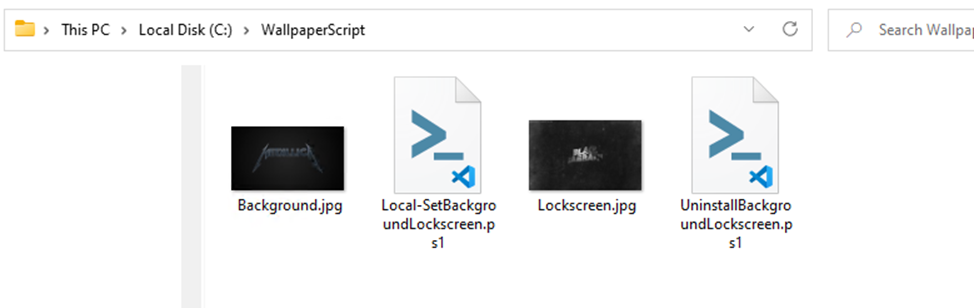
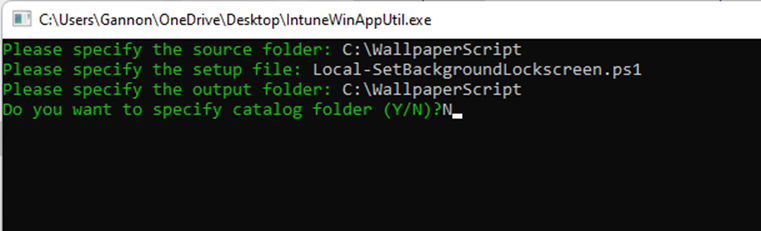
Wrap all your files in the directory as a Win32 app with Local-SetBackgroundLockscreen.ps1 as your install script. You can rename this to install.ps1 after downloading, but I’ll leave the name as-is for now.
Now that you have your .intunewin file. Create a new Win32 app. When you get to the program section, we need to make sure this runs in 64-bit context. Refer to my other post here if you are not familiar. Install as system, and make sure your install and uninstall commands looks like this:
- %windir%\sysnative\WindowsPowerShell\v1.0\powershell.exe -Executionpolicy Bypass .\Local-SetBackgroundLockscreen.ps1
- %windir%\sysnative\WindowsPowerShell\v1.0\powershell.exe -Executionpolicy Bypass .\UninstallBackgroundLockscreen.ps1

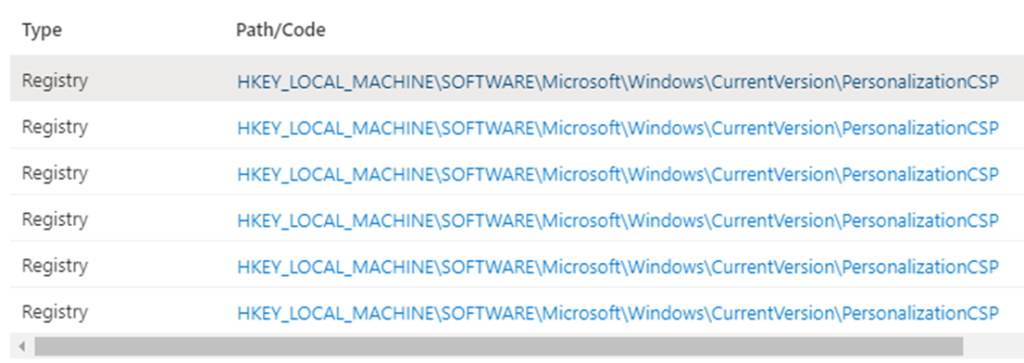
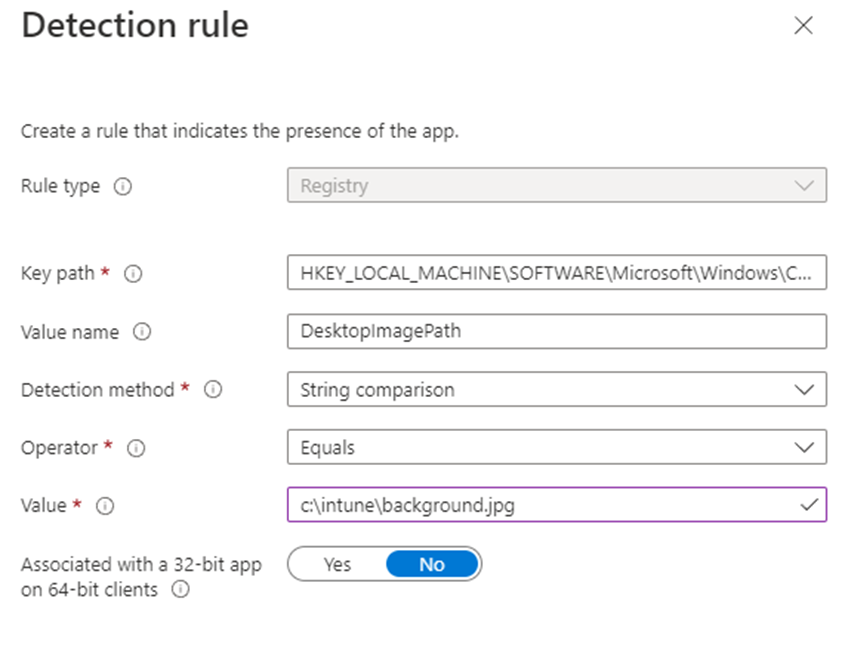
Add requirement rules, and when we get to detection rules. We will add a detection rule for each value as a string or integer comparison. This compares the registry value to what we have in our detection rule. Details of the six detection rules are below. The Key path for each rule is HKEY_LOCAL_MACHINE\SOFTWARE\Microsoft\Windows\CurrentVersion\PersonalizationCSP
All detection rules look the same as above with their value name, value, and detection method differing:
| Rule 1 | |
| Value Name | DesktopImagePath |
| Detection Method | String Comparison |
| Value | c:\intune\background.jpg |
| Rule 2 | |
| Value Name | DesktopImageStatus |
| Detection Method | Integer comparison |
| Value | 1 |
| Rule 3 | |
| Value Name | DesktopImageUrl |
| Detection Method | String comparison |
| Value | c:\intune\background.jpg |
| Rule 4 | |
| Value Name | LockScreenImagePath |
| Detection Method | String comparison |
| Value | c:\intune\lockscreen.jpg |
| Rule 5 | |
| Value Name | LockScreenImageStatus |
| Detection Method | Integer comparison |
| Value | 1 |
| Rule 6 | |
| Value Name | LockScreenImageUrl |
| Detection Method | String comparison |
| Value | c:\intune\lockscreen.jpg |
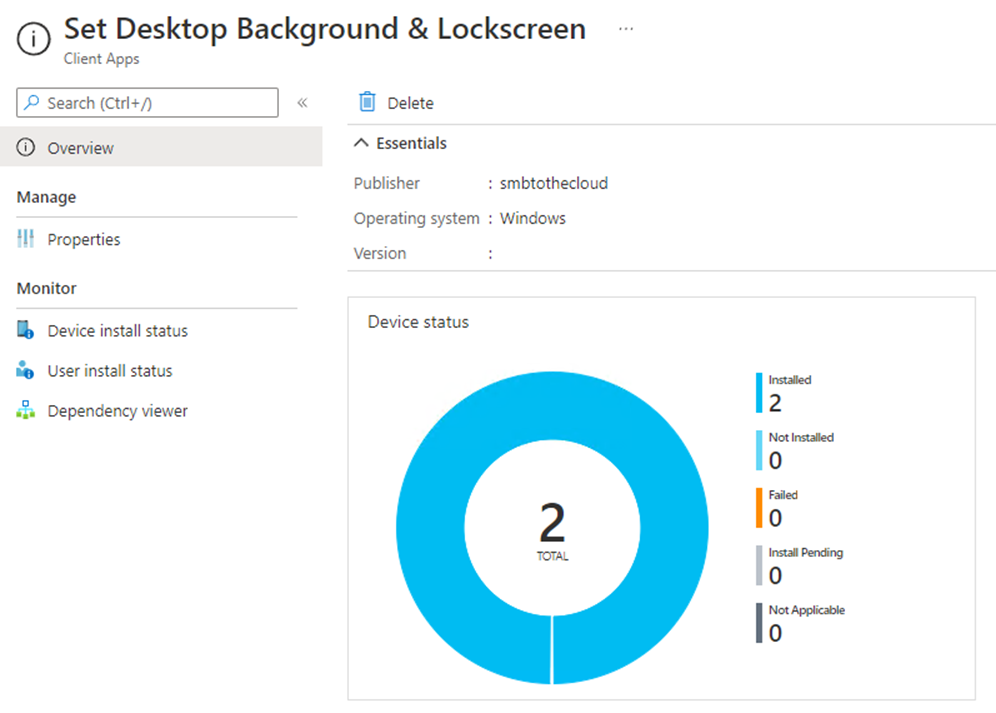
Complete the remainder of the Win32 app, and deploy to your target machines. After they check in, they should receive their new lock screen image and desktop background. If your detection rules were configured properly, you’ll have successful installs in the endpoint manager dashboard:
Pingback: Endpoint Manager Newsletter – 24th June 2022 – Andrew Taylor
Hi , where can i run this detection script ? when i try to install this , it showing installation failed