If you didn’t already know, you can easily add existing devices to Apple Business Manager (ABM) or Apple School Manager (ASM) with the Apple configurator app for iOS. I was also surprised by the lack of blogs on how to do this, so I am writing this with instructions and screenshots. I found many articles about adding MacOS devices using Apple Configurator for iOS (and many people complaining that it’s not supported for older models), but not much for adding another iOS device. Before this was an available method, if your devices couldn’t be retroactively added to ABM by the vendor, you had to use Apple Configurator for Mac, which was a royal PITA and took much longer than the iOS app.
The benefit of using ABM with Intune (or any other MDM) is the ability to use Automated Device Enrollment. If you’re familiar with Autopilot for Windows, this is essentially the same concept. The device is bound to your ABM tenant, so when it is wiped or unboxed, it talks to ABM after it has a network connection, retrieves the profile for your MDM assignment, and then proceeds with the MDM enrollment. Without ABM, you’d be enrolling devices manually every time they needed to be reprovisioned or replaced. This sounds all great and easy until an organization comes to you with an existing fleet of iOS devices they want to manage with Intune, but they don’t have ABM. If devices were purchased from a carrier or other vendor that can enroll the devices at the time of purchase, then there is a chance they can retroactively add the devices to ABM for you, but they don’t guarantee it. So, you may be stuck manually adding devices to ABM. Regardless, hopefully, you don’t have hundreds of devices to add to ABM.
Adding a device to ABM with the iOS Apple Configurator app is super easy. The compatibility chart from Apple’s support site is below. We can see that iOS 16 or newer is required for both the device with Apple Configurator installed and also for the device you’re enrolling.

To add a device to ABM, Install the Apple Configurator app on a supported device, and then sign in with an administrator account from the ABM tenant. There are not many bells and whistles for this app since its only purpose is to add devices to ABM. After you sign in, you’ll see the organization name at the top of the screen, a settings button at the bottom left, and a list button on the right showing any devices you’ve enrolled using the app.

The settings don’t have much going on, either. By default, the share Wi-Fi option is enabled. This will automatically share the Wi-Fi information with the target device so it can access the internet and complete its registration with ABM.

When adding a device, it needs to be going through the initial setup after a factory reset. There is currently no way to manually add an existing device to ABM unless it’s brand new or coming out of a factory reset. You’ll notice in the requirements table above, that the setup assistant pane uses the Choose a Wi-Fi Network screen. This means that we should pause at the choose Wi-Fi screen during initial setup, because the Apple Configurator app will take over. The process with screenshots is outlined below:
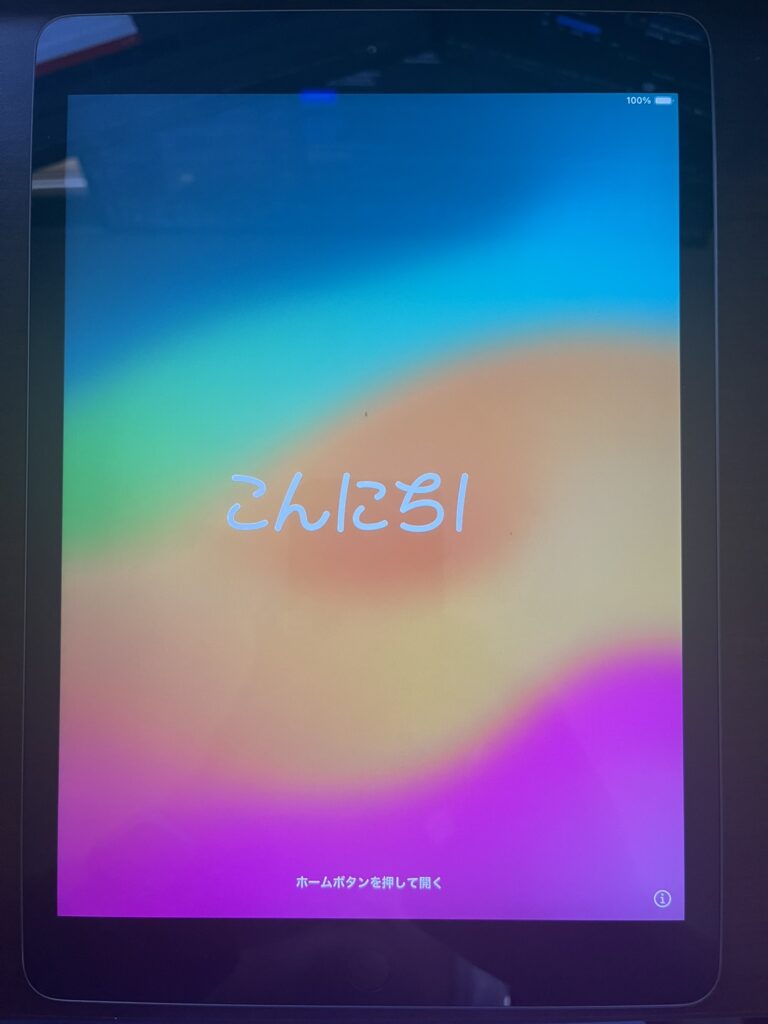
After powering on your iOS device, proceed through the first few setup screens. It should look very similar to the screens below and in the same order
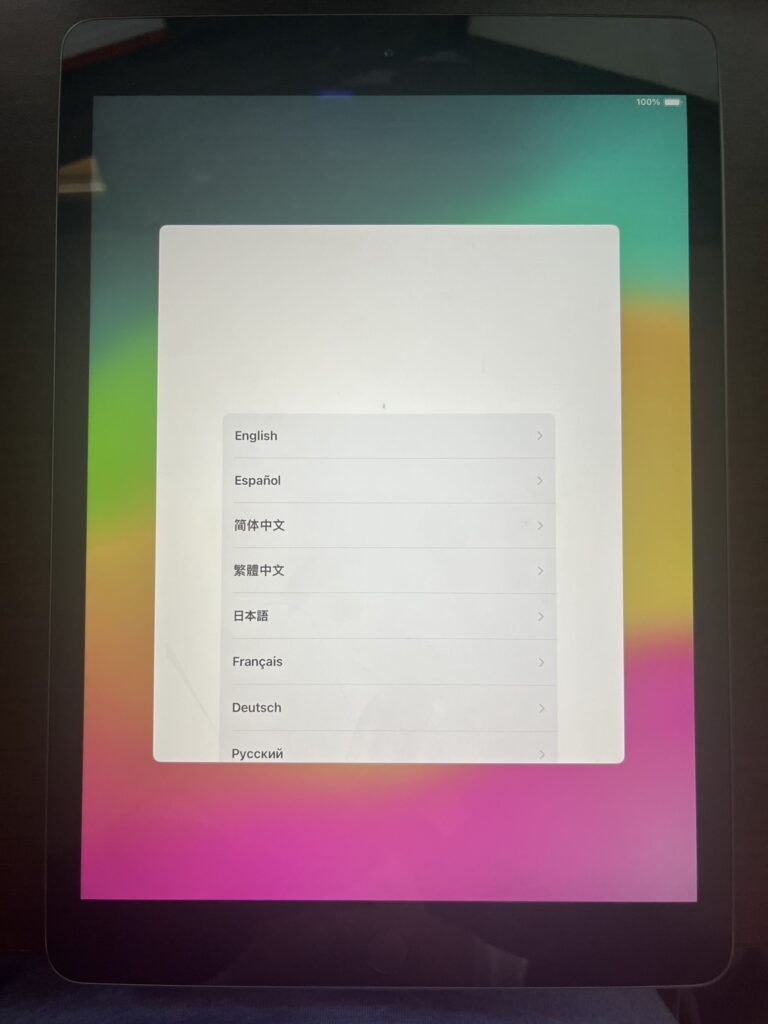
Then, choose your language:
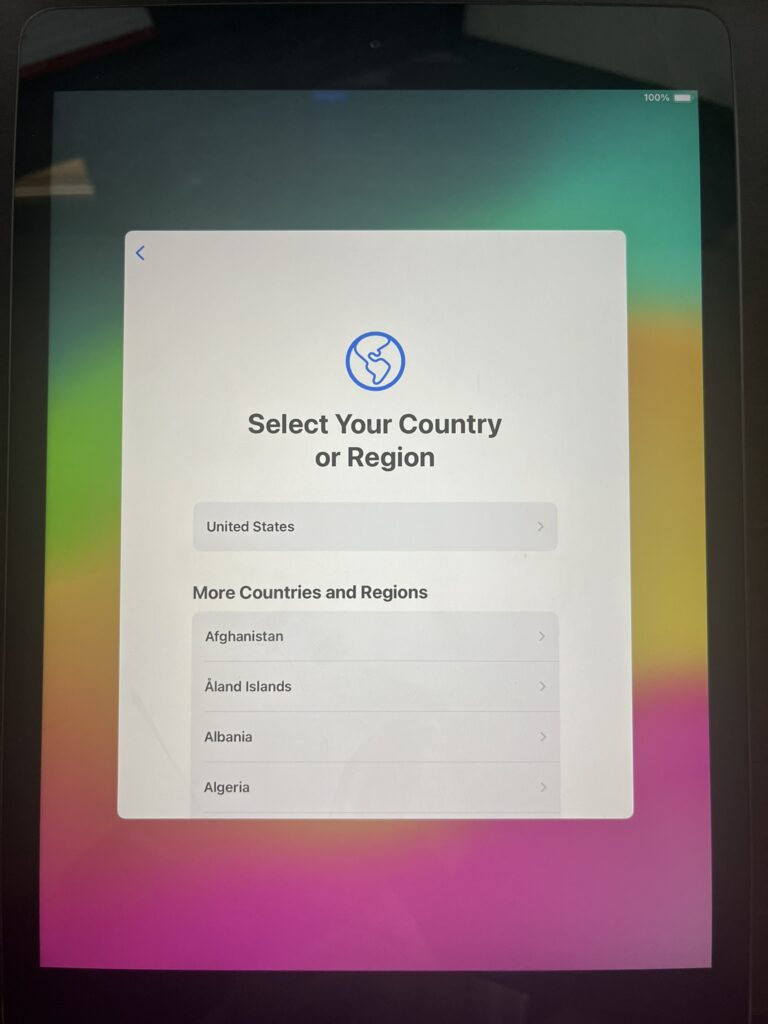
Select your country:
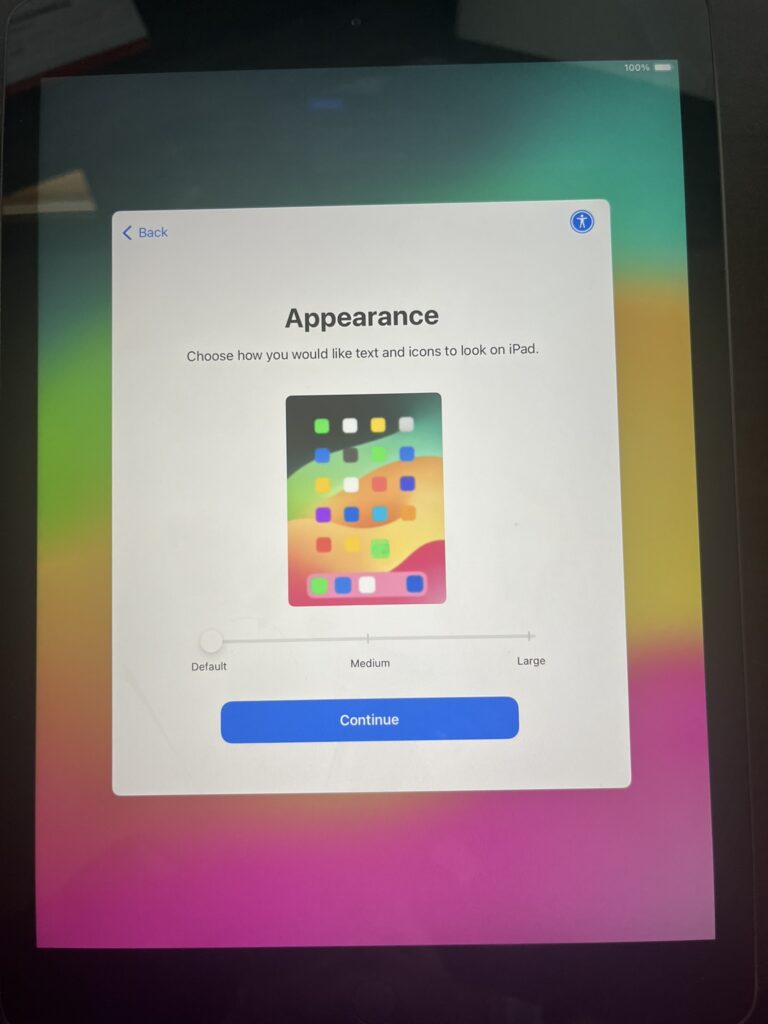
Choose the desired appearance:
If prompted for quick start to use another device, select set up without another device:
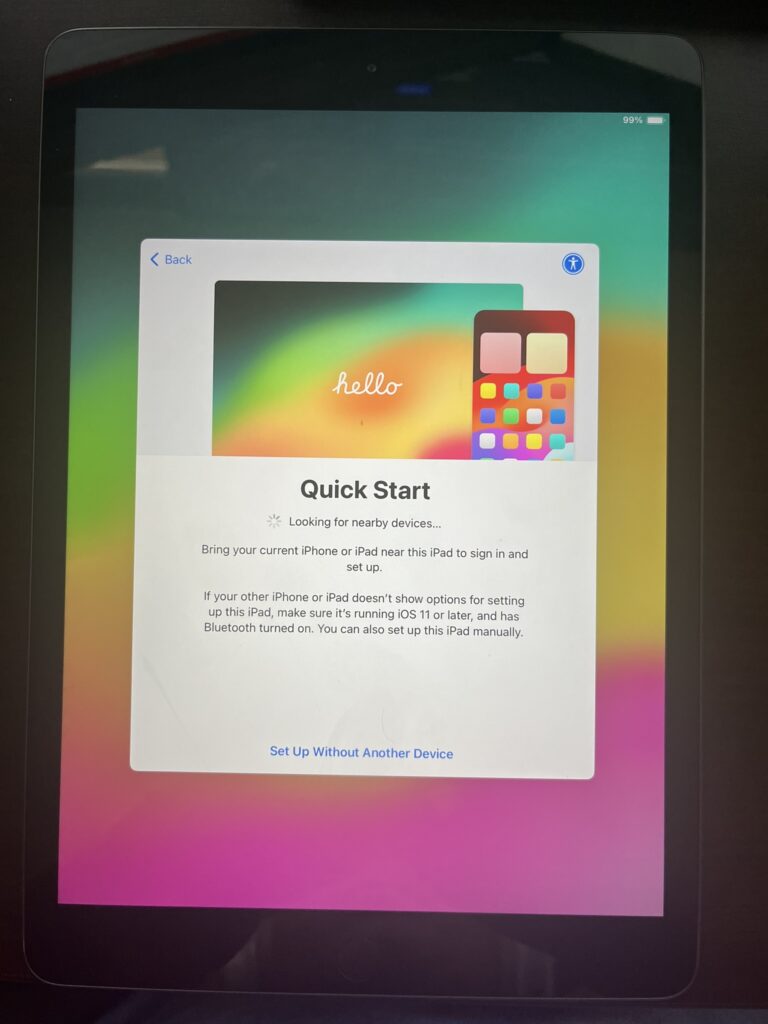
The choose wi-fi screen will appear next, don’t connect to Wi-Fi. Pause here.

Now, grab your iOS device that has the Apple Configurator app installed and bring it close to the iOS device you want to add to ABM. After a second or two, the screen on the target device should change from the choose Wi-Fi screen to show a screen saying Add this iPad to your organization, with a unique pattern.
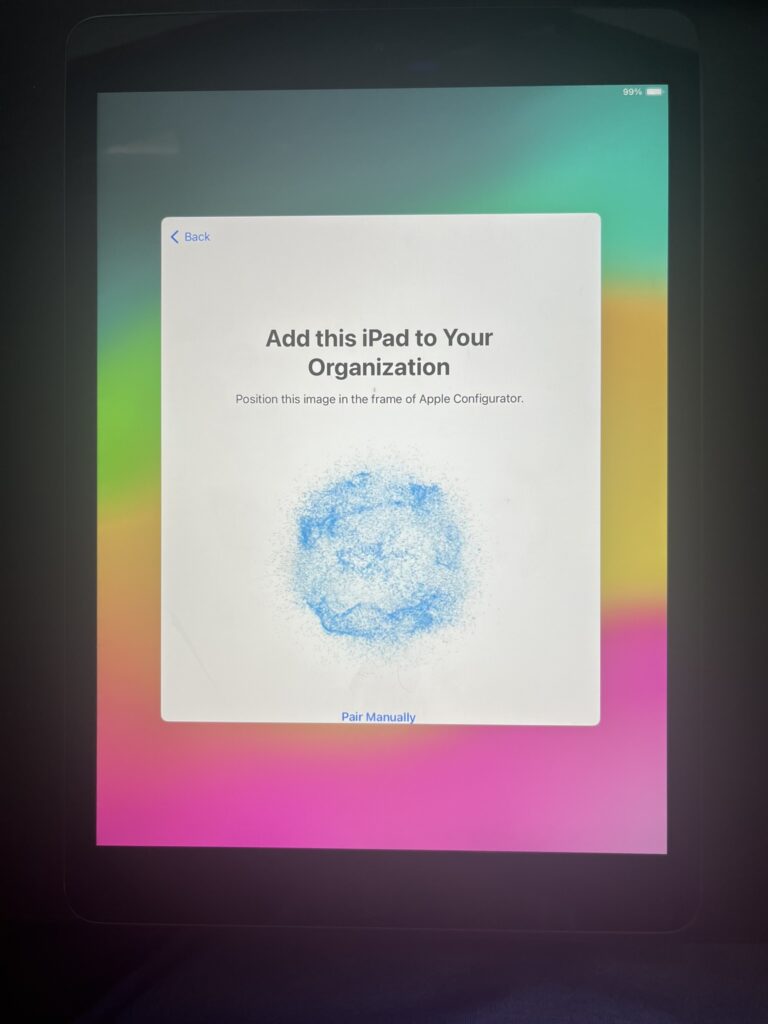
Using the iOS device with Apple Configurator, position the unique pattern in the circle. If for some reason the app is unable to detect the pattern, you have the option to pair manually, which will show a code on the target device you can type into the Apple configurator app.

Once the pattern is detected, you’ll be notified that the device has been added on the Apple configurator app and the screen on the destination device will change to Adding iPad, and it will automatically connect to the same Wi-Fi network that the device using Apple Configurator was using:

After a minute or two, you’ll receive confirmation that the device has been added to ABM. The only option at this point is to erase the iPad again. Make sure before erasing that an MDM server has been assigned to the device.

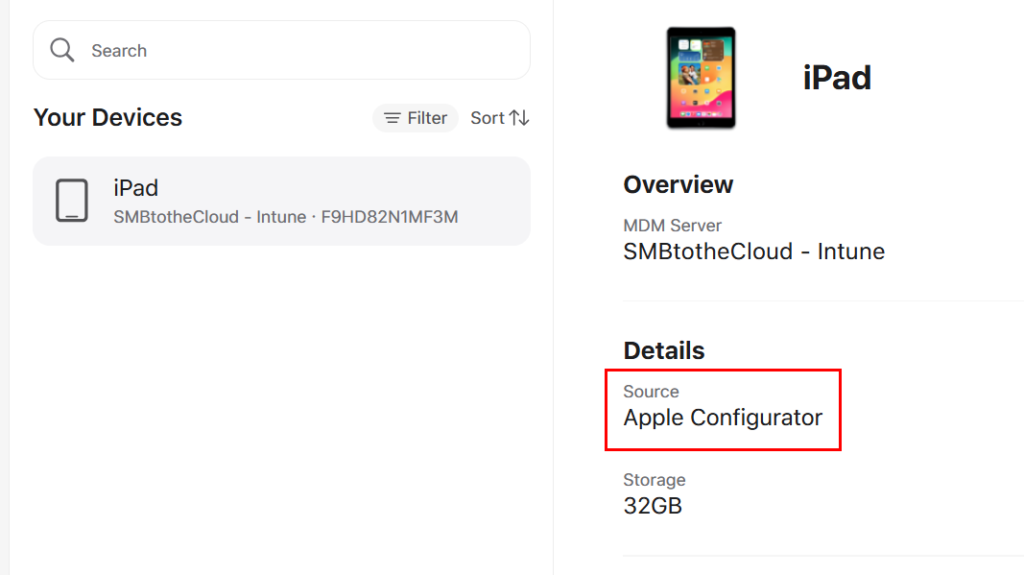
Back in ABM, you can find the device by its serial number and confirm it was added, has an MDM server assigned, and see that it was added by Apple Configurator as the source:
A couple of things to keep in mind when manually adding devices with Apple Configurator:
- It’s always preferable to have the vendor add the devices to your ABM at the time they’re ordered. You can certainly use this method to bulk enroll, but it will take significantly longer and should only be used as a last resort, or if devices were purchased outside from typical direct-to-consumer vendors, such as costco or best buy.
- Per Apple’s support document (Intro to using Apple Configurator for iPhone – Apple Support):
- After you’ve set up the device or devices, they behave like any other device already in Apple School Manager, Apple Business Manager, or Apple Business Essentials, with mandatory supervision and mobile device management (MDM) enrollment. The device can then be shut down and stored until needed or sent to the user.
- If the device is given to a user, they have a 30-day provisional period to release the device from Apple School Manager, Apple Business Manager, or Apple Business Essentials, supervision, and MDM. This 30-day provisional period begins after the device is successfully assigned to and enrolled in:
- A third-party MDM server linked to Apple School Manager, Apple Business Manager, or Apple Business Essentials.
