Overview
AVD and FSLogix are widely used and being adopted by more and more organizations. If you’re not familiar with FSLogix or AVD, you should have a basic understanding of how it works. At a high level, FSLogix creates a .vhdx file containing the user profile data (everything for the c:\users\username, which also contains the HKCU registry hive). When a user signs into AVD, that VHDX is transparently mounted to the session host, so UI and user experience are the same regardless of which host they connect to. There are many other benefits to using FSLogix, but that is the primary purpose behind the technology.
User profiles can vary in size from a few GB to 20+ GB. In addition, since the VHDX profiles are stored in a separate storage location, there is no built-in way to automatically delete old profiles. If this is not part of the typical user offboarding process or the organization requires that some data be retained for a certain period, the profile storage can become bloated with stale profiles that are no longer needed. This is where I got the idea to create a solution to notify IT admins of stale profiles to be evaluated for deletion.
I plan to continue developing and adding to this script, but currently, the automation runbook does the following:
- Analyze the FSLogix profile share for vhdx files that have not been modified for 30+ days (you can specify more or less time through the runbook variable).
- Note – Every time a user signs in and out, their FSLogix vhdx is modified. So, we can safely determine these users have not signed in for 30+ days.
- Calculate the total size in GB for the stale profiles
- Calculate the estimated savings in Azure spend per month if the stale profiles are deleted. I currently have this set to the cost of AZ Files Premium GB in the NCUS region ($0.16)
- AZ Files premium is paid in the provisioned share size, so the estimated savings will only be reflected if the provisioned share size is also reduced by the same amount as the stale profiles.
- Send a notification to a Teams channel via webhook with the names of the profiles, total GB, and potential cost savings.
- Sends a log of the Runbook output and a CSV file of the profiles and their size to a storage account container. (Thanks to a friend for the suggestion to add this)
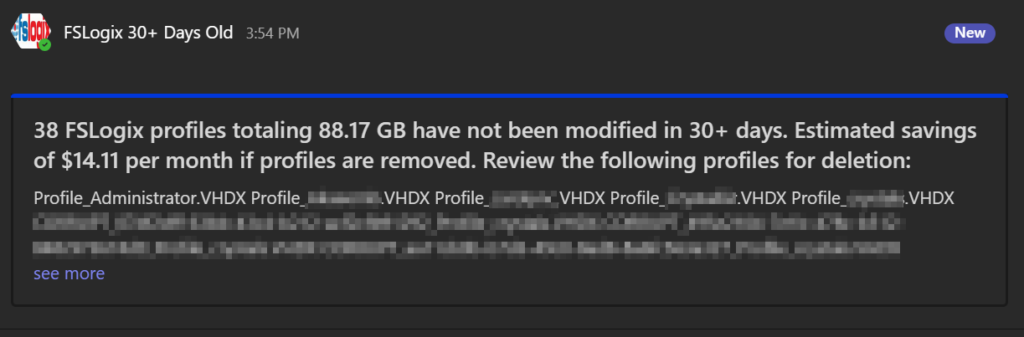
Here’s an example of what our Teams notification looks like:
The Necessary Resources
We’ll briefly walk through manually creating all the necessary Azure resources in this post. Down the road, I’m hoping to develop a script that creates all the necessary resources and makes this as automated as possible. For now, we’ll manually create the resources. Here’s what you’ll need in your environment:
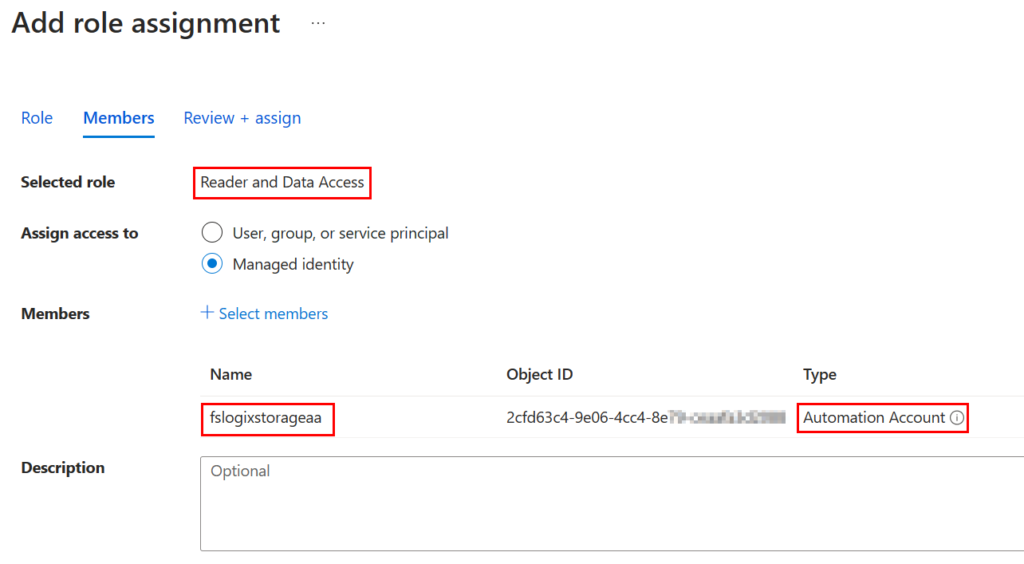
- The name of the resource group, storage account, and file share where your FSLogix profiles live
- An automation account using a system-managed identity
- A Teams Webhook URL for the notifications
- A blob storage container for the log and CSV files.
The Log Storage Container:
We’ll start in reverse of what was mentioned earlier since we’ll need all of this before executing our runbook. We’re assuming you know how to create a storage account since you already have one for your FSLogix profiles. Since you should be using AZ Files Premium for your FSLogix storage, you’ll need to use a different SA for the log storage.
From a different storage account, create a new container and provide a name:
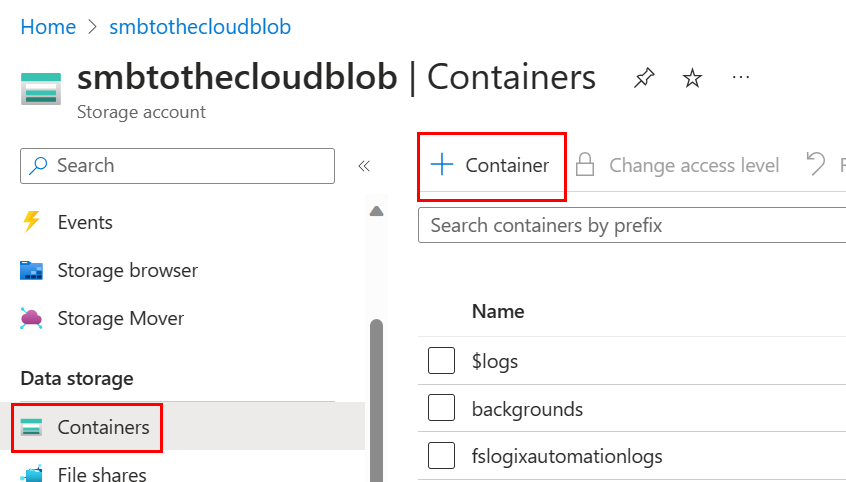

That’s all we need here. Remember the resource group, the name of the storage account, and the name of the storage account container. We’ll need those when we import the runbook.
Teams Webhook URL:
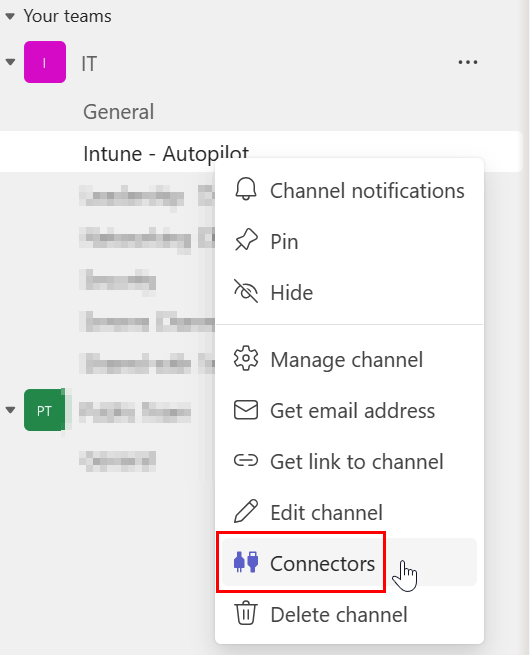
This is what we’re using to notify us each time the automation runs. Use an existing Teams channel or create a new channel for the notifications. Right-click the channel and select connectors:
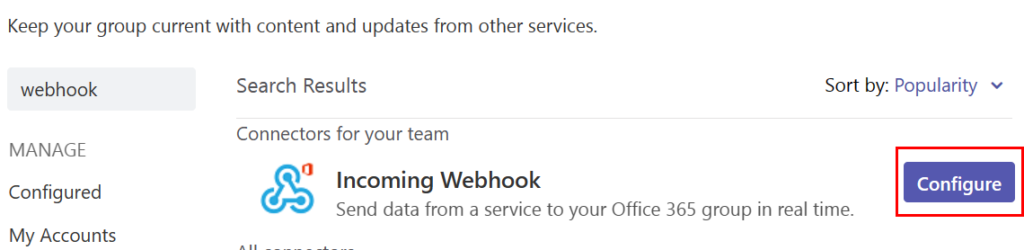
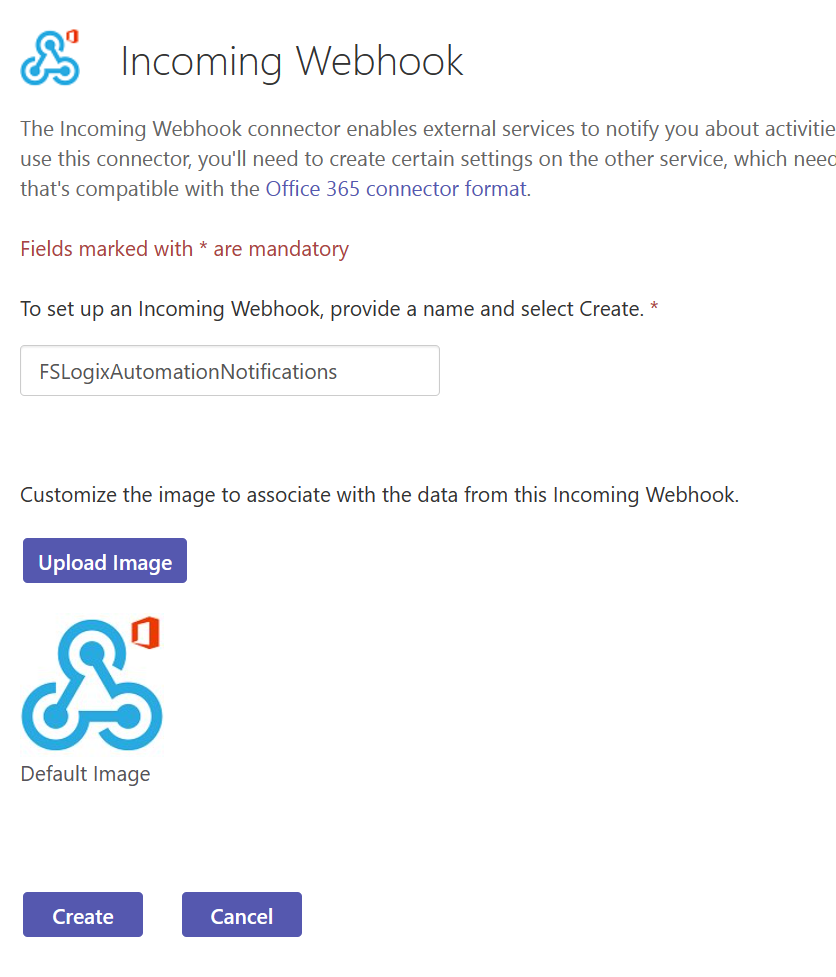
Search for and select incoming webhook:
Provide a name and add a logo if you’d like to. The logo is displayed on the messages that use the webhook. Click Create when finished.
Copy the URL after your webhook is created. We’ll use this later on when we configure the automation runbook:

The Automation Account:
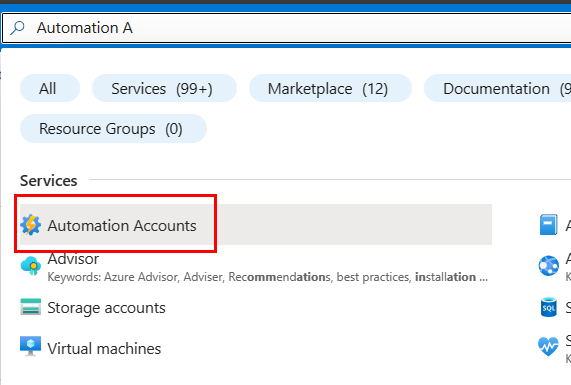
We need to create our automation account which is used to execute our PowerShell runbook script. Search for Automation Accounts in Azure.
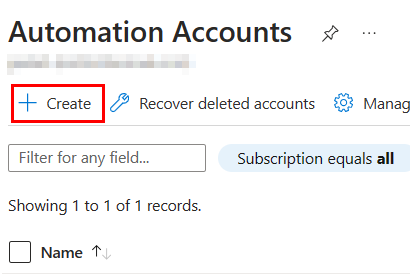
Click Create:
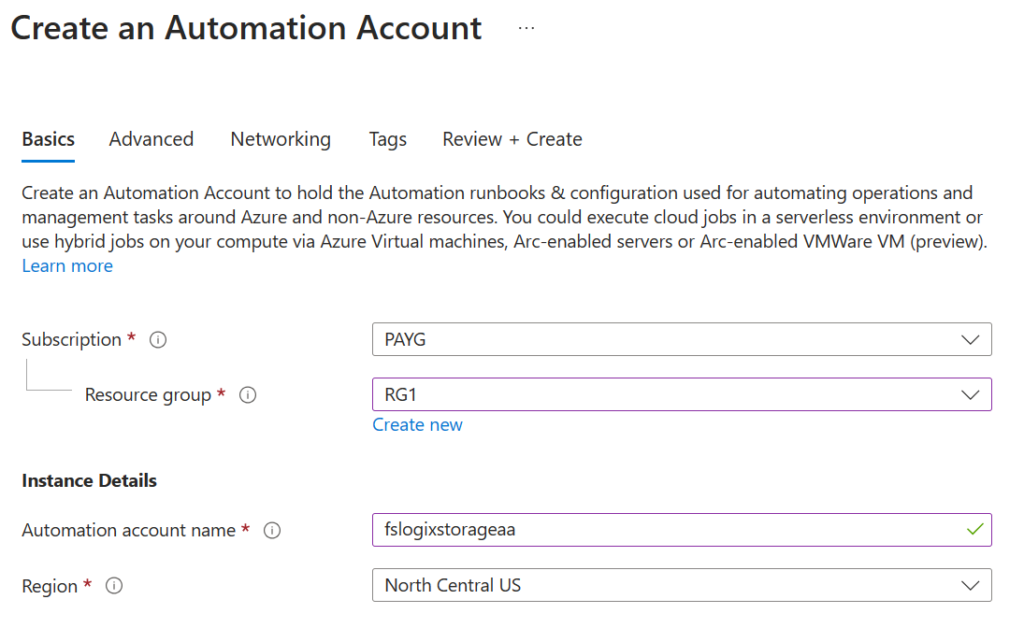
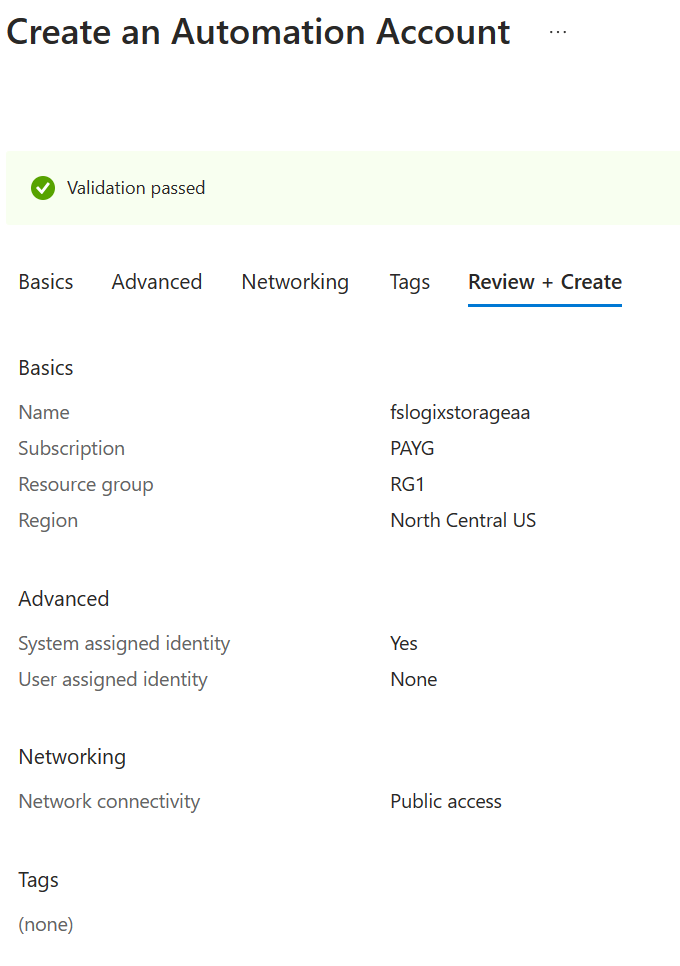
Complete the wizard to create a new automation account:
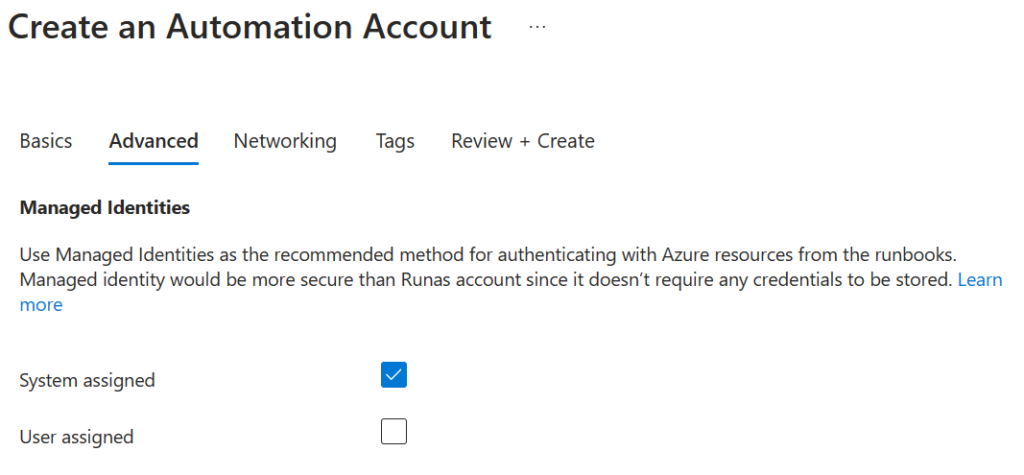
Make sure a system-assigned managed identity is used:
Click Create after the validations have passed:
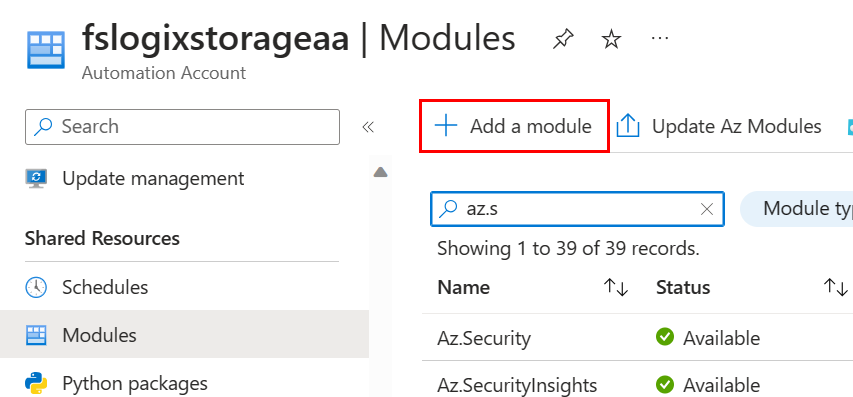
We also need to add the Azure.Storage module so we can move our CSV and Log file to our Blob storage. From the Automation Account, select Modules, and click Add a module:
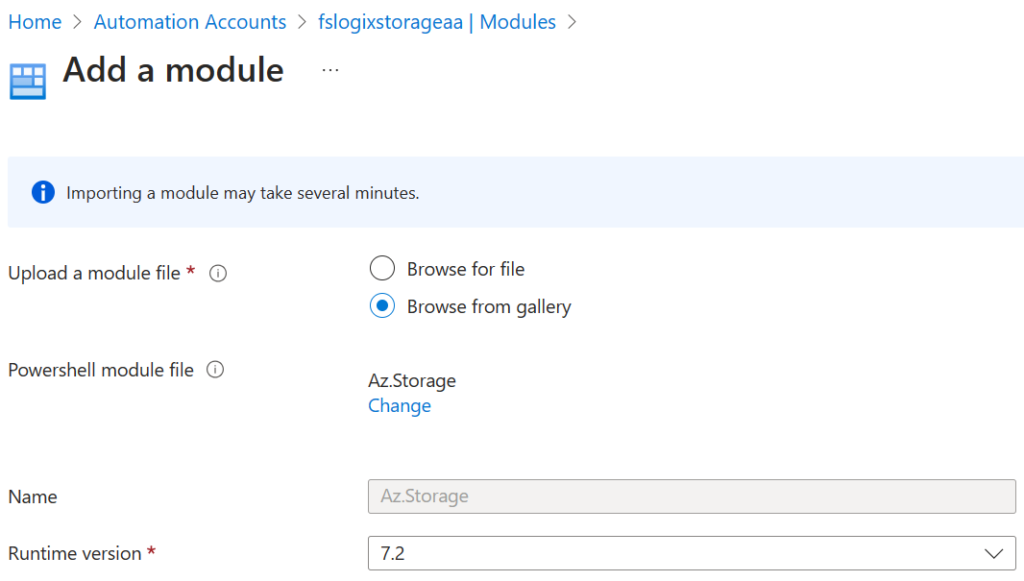
Select browse from gallery, and search for the Az.Storage module and select it. Select 7.2 for the runtime version and complete adding the module:
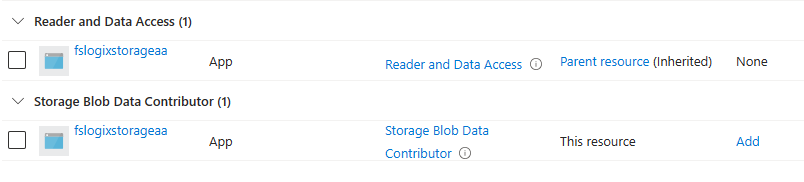
Next, we need to assign roles for the automation account managed identity. This is so the automation account can read the file information from the FSLogix profile share, and also so it can write the log and CSV to the blob container. We can use the built-in Reader and Data Access role for the FSLogix storage account. You’ll also need to add this same role to the storage account you’re using for the log storage. Also, make sure the automation account has Storage Blob Data Contributor on the container where your logs will be stored.
The Log container IAM should look like this:
The Runbook
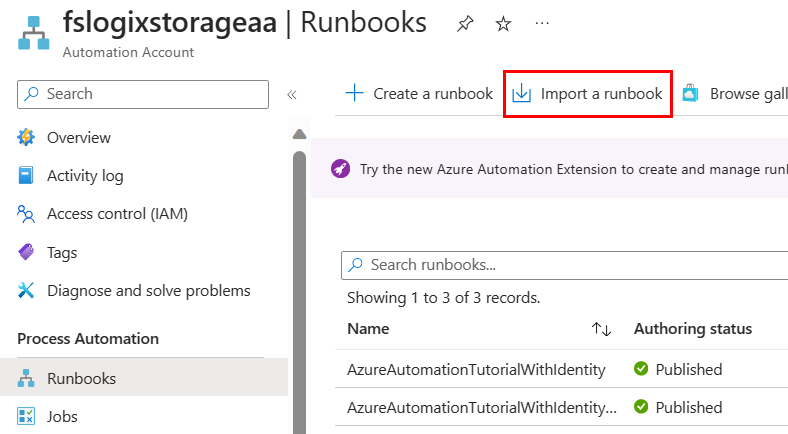
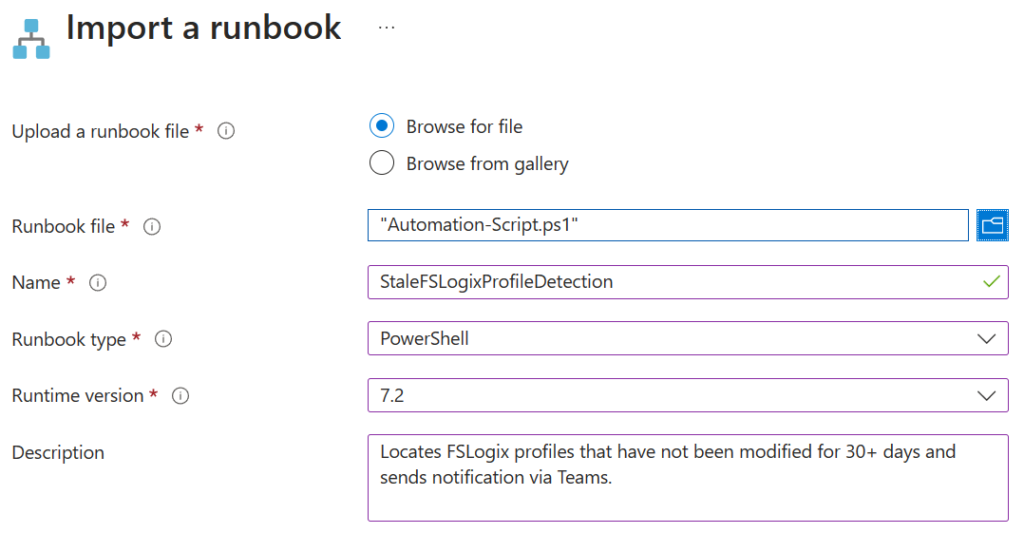
Next, we need to add our Runbook. The runbook is the actual script that will do all the work in detecting stale profiles and generating the notification message. Download the script from GitHub. From the automation account, Select Import a runbook.
Browse to the PowerShell script, and complete the details. Click Create when finished.
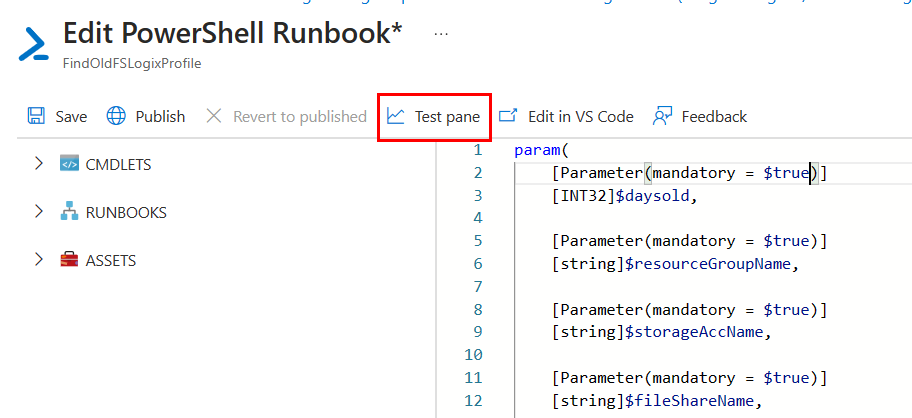
After the runbook is created, it should bring you to the portal editor where you can view the Runbook. Click the test pane button so we can test the runbook:
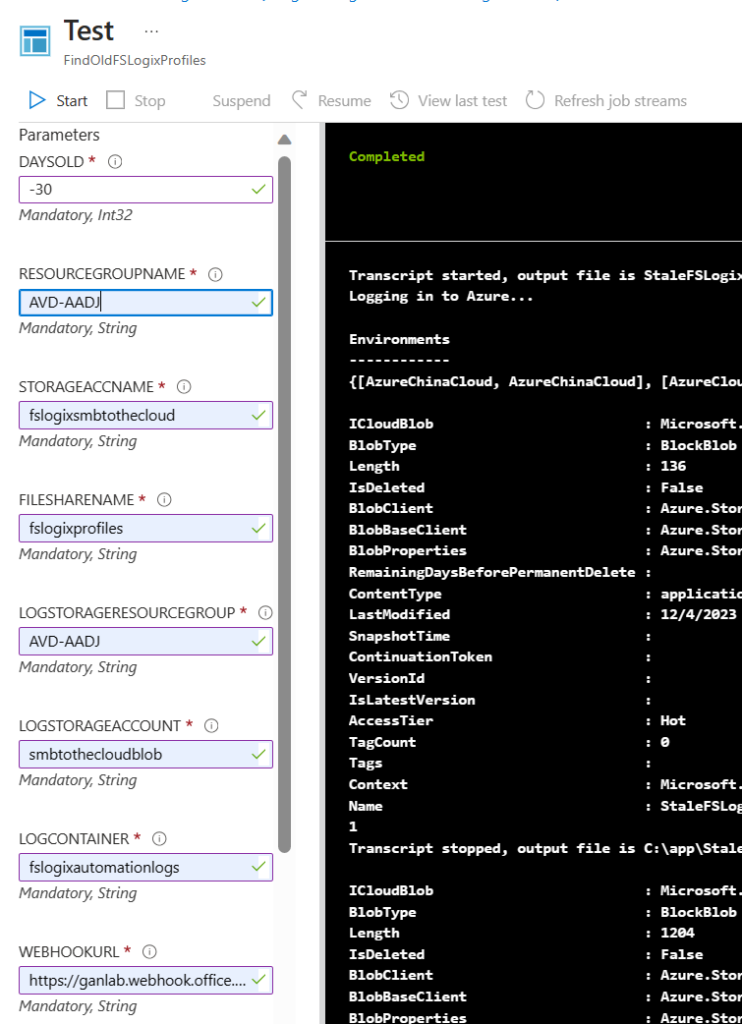
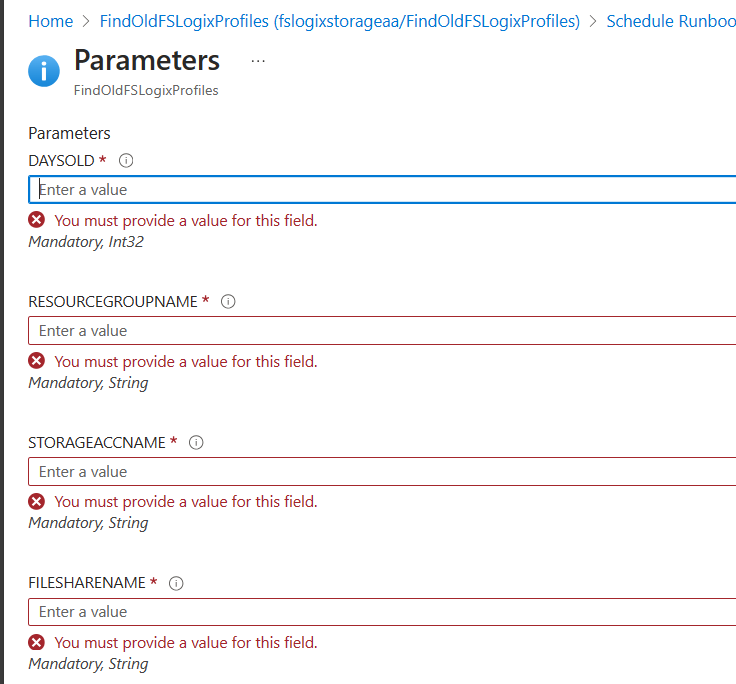
Add your parameter values, and click Start. A List of the parameter values is below:
- DAYSOLD – The number of days you want to detect FSLogix profiles were last modified
- RESOURCEGROUPNAME – The resource group name for the FSLogix profile storage account
- STORAGEACCNAME – the name of the storage account where your FSLogix share is located
- FILESHARENAME – the share name for the FSLogix profiles
- LOGSTORAGERESOURCEGROUP – The resource group for the blob storage container where you want the logs saved
- LOGSTORAGEACCOUNT – The name of the storage account holding the log container
- LOGCONTAINER – the name of the container where the logs will be sent
- WEBHOOKURL – the Teams webhook URL we created earlier
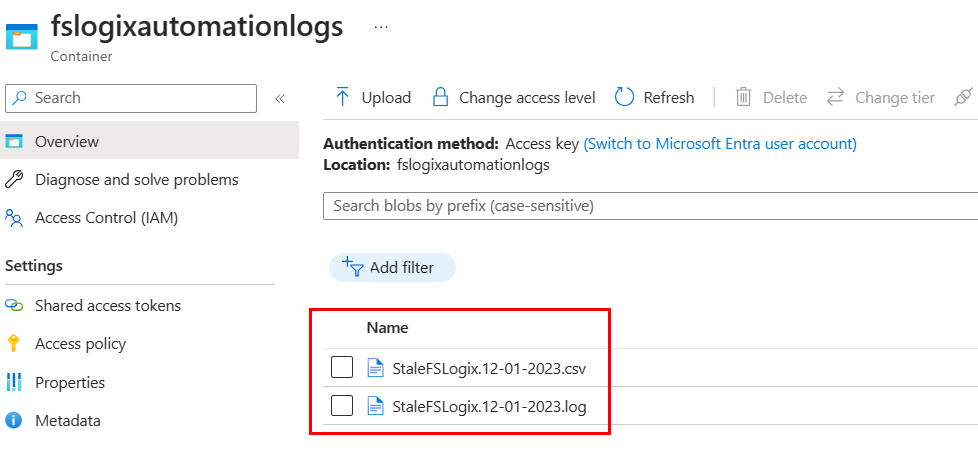
Assuming the script runs without error, you should receive a Teams message, and you should have two files in the log storage container:

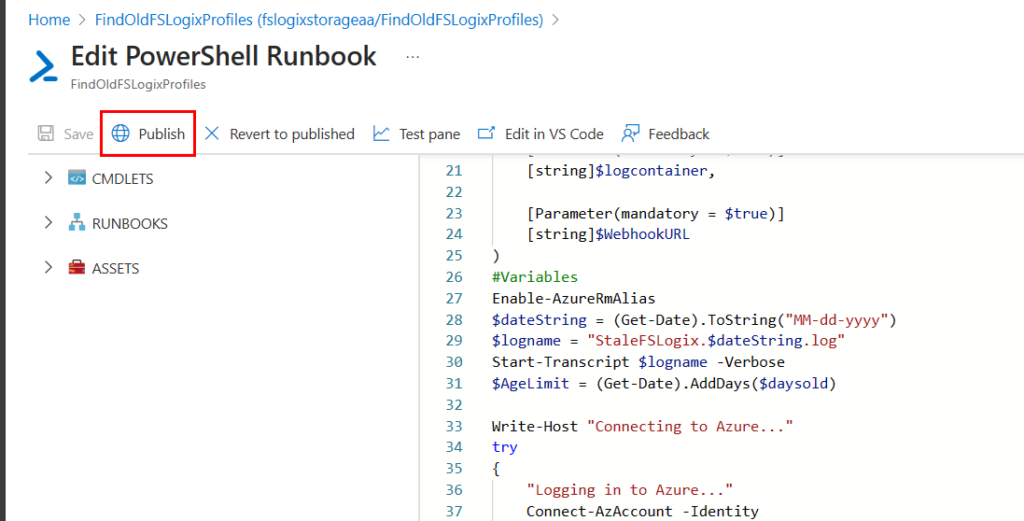
Now that you’ve confirmed it’s working properly, we need to publish the automation and set a schedule.
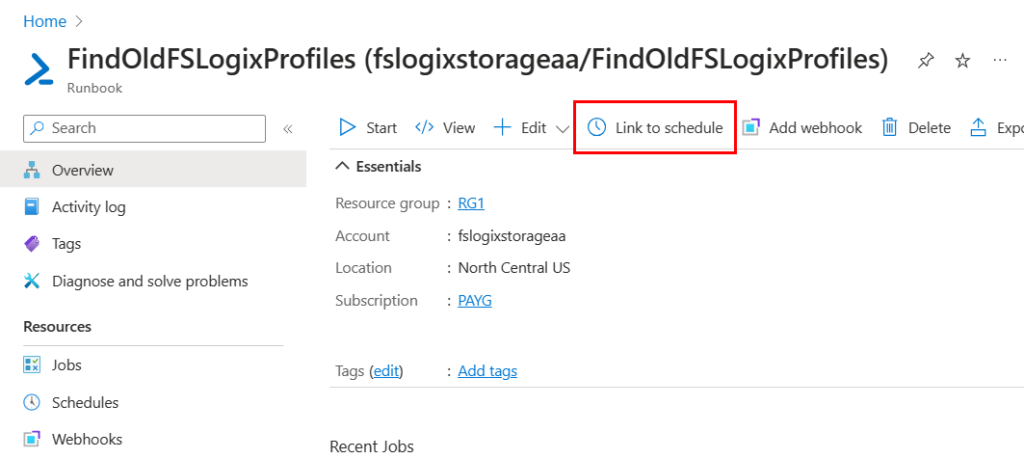
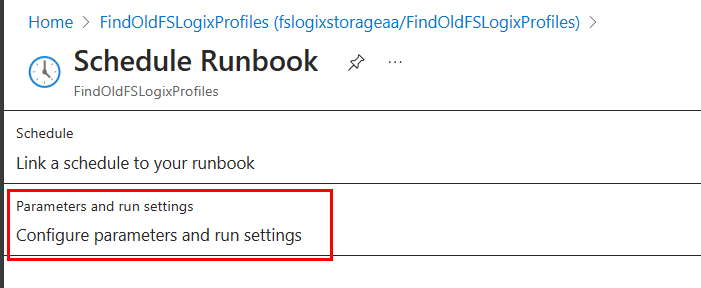
Then click link to schedule:
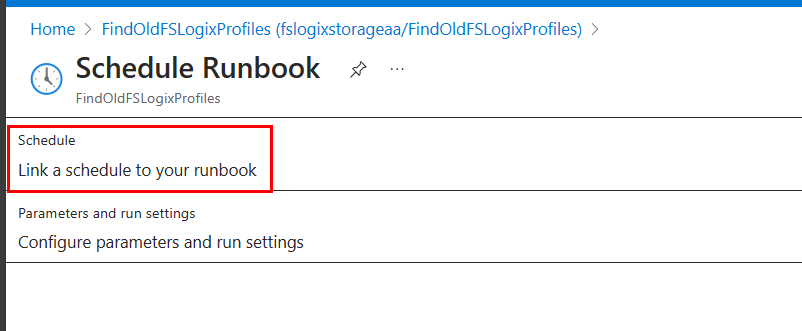
Click Link a schedule to your runbook
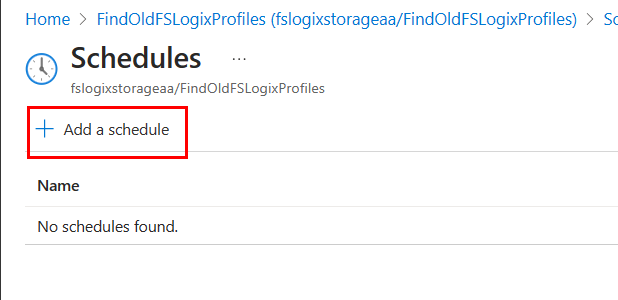
Click Add a Schedule:
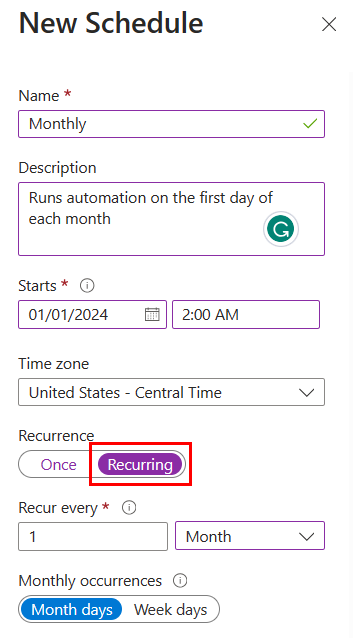
Create your desired schedule. If you’re using 30 days, you probably only need this to run once per month.
Click Save after adding the schedule. You’ll be back at the schedule runbook page from the previous step after saving. Click configure parameters and run settings:
Set your variables that we used in the test pane earlier. These are the variables the runbook will use for the configured schedule. Click OK when finished.
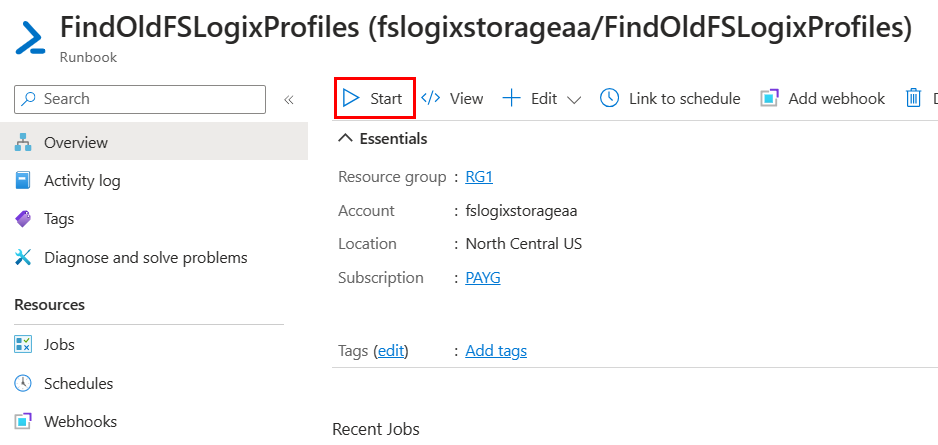
If you want to test your published runbook again, click Start from the runbook overview, supply the parameter values, and click OK.
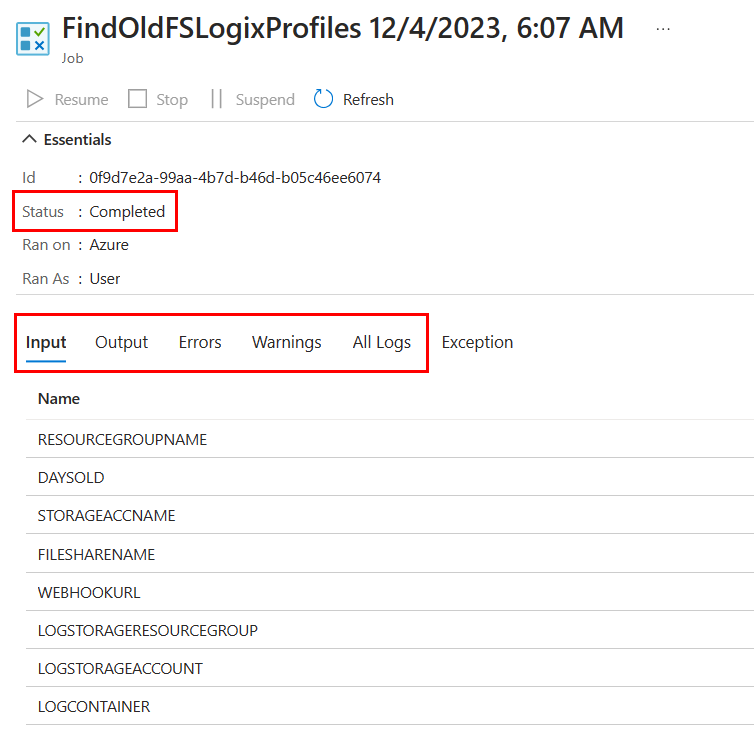
You will see the job status along with Intune, Output, and any errors after the job completes.
That’s it. Now you wait for your schedule to run and hopefully, this helps some organizations detect old profiles that are no longer needed and save a little money on their Azure spend.