Last updated on April 23rd, 2024 at 11:48 am
**CISCO NO LONGER RECOMMENDS USING THE UMBRELLA ROAMING CLIENT. SEE THIS POST FOR INSTRUCTIONS ON DEPLOYING THE SECURE CLIENT WITH UMBRELLA MODULE – Deploy the Cisco Secure Client with Umbrella Module using Intune – SMBtotheCloud
If your organization or clients are using Cisco Umbrella for additional endpoint protection, this blog walks through deploying the Umbrella Roaming client to Windows workstations using Intune. Umbrella is usually used for providing DNS-level security and as a secure web gateway but contains several other security features. If you’re not familiar with the additional security that the Umbrella Roaming client provides, visit this link – Comprehensive Cloud Security Services for Business – Cisco Umbrella.
Before we deploy the roaming client, it’s important to understand that for Umbrella to have full functionality, the Cisco Umbrella root certificate also needs to be deployed to your workstations. This is so Cisco can literally man-in-the-middle a client’s encrypted web traffic and inspect it for malicious content, or block it based on URL rules. Other features are also reliant on the root certificate. Per Cisco – Advanced Cisco Umbrella features, such as SSL Decryption through the intelligent proxy and the ability to block your own custom URLs require that you install the Cisco Umbrella root certificate. Other features, such as File Inspection, gain greater efficacy from having the certificate present as Umbrella is able to proxy and block more traffic. So, before we install the roaming client, we need to deploy the Umbrella root certificate.
Deploy the Umbrella Root Certificate
Intune makes deploying the Umbrella Root Certificate very easy. In addition to using Intune, I also have a script here that you can push via an RMM if all your devices are not in Intune. It will check if the root cert exists on the device, and if not, it will download and install the cert in the proper store. To use Intune, use the below steps:
- Download the Umbrella Root Cert from this link – https://d36u8deuxga9bo.cloudfront.net/certificates/Cisco_Umbrella_Root_CA.cer
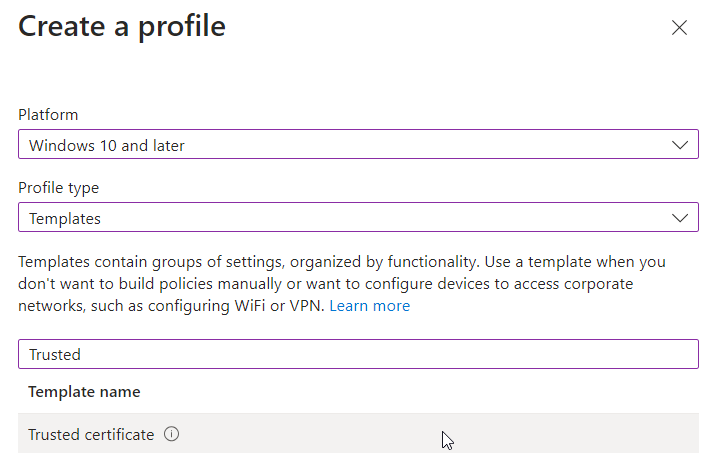
- From Intune, navigate to Devices > Windows > Configuration Profiles. Create a new profile for Windows 10 and later. Select Templates for the profile type, and select the Trusted Certificate Template.
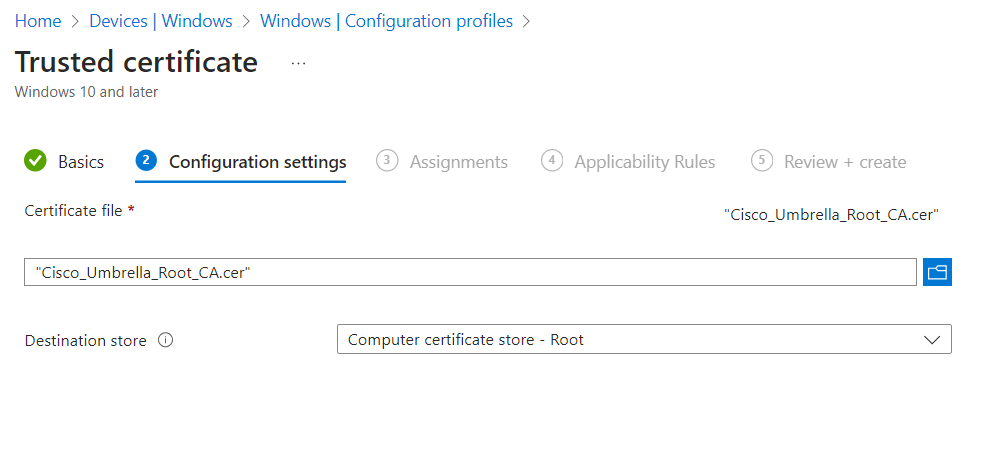
- Provide a name for the profile and under configuration settings, browse to the certificate downloaded in step 1 and choose Computer Certificate store – Root as the destination store:
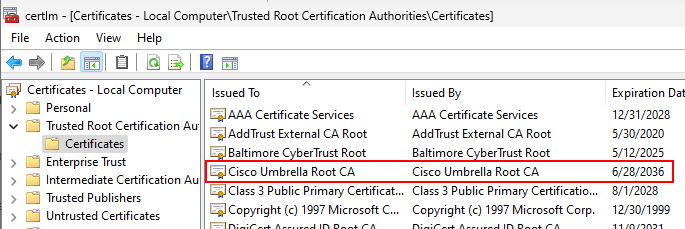
- Add your assignments and complete the profile creation. After deploying the profile, the Umbrella cert will be automatically added to the local machine’s trusted store:
That’s it. Now that we have the root cert installed on our machines, let’s install the Umbrella Roaming client.
Deploy Umbrella Roaming Client with Intune
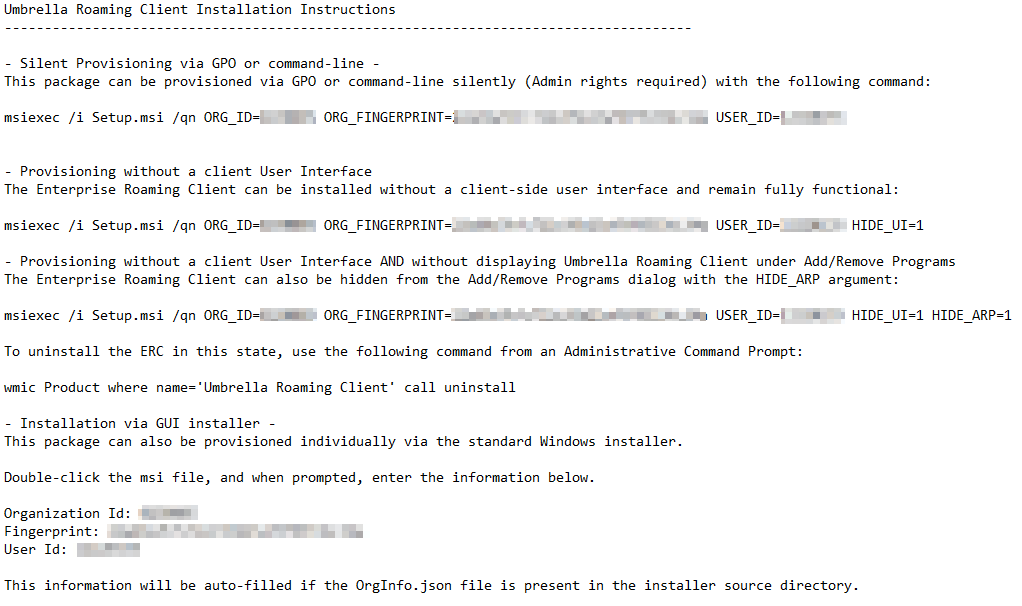
Deploying the Umbrella Roaming client with Intune is a straightforward process. If you’re familiar with packaging Win32 apps, it’s just like any other. Cisco makes things even easier on us because when you download the roaming client, the readme file literally contains all the different installation methods, including the site IDs and other unique values that link the client to your Umbrella tenant. Here’s an example of the ReadMe file with the site information redacted:
Take a look at your readme file and familiarize yourself with the different installation switches. Next, we will walk through packaging and deploying the client.
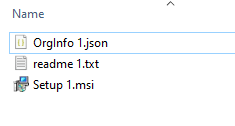
- After you download and extract the Umbrella client installation files from your tenant. There will be a setup.msi file along with a readme and a json file:
- As we mentioned earlier, the readme file contains all necessary site information and installation instructions. For client deployments, we will choose to deploy silently and not display the client in add/remove programs. This will make the software as transparent as possible to the end user.
- Per the readme file, the installation syntax is below. The Readme file and JSON file contain the Fingerprint and UserID. Replace <fingerprint> and <userID> with the correct values
- msiexec /i Setup.msi /qn ORG_ID=<ORDID> ORG_FINGERPRINT=<fingerprint> USER_ID=<UserID> HIDE_UI=1 HIDE_ARP=1
- Also – The JSON file is not important when silently installing since all command line switches are provided with the organization’s tenant info. The JSON is only useful if manually installing with the GUI. The fingerprint and userID values will automatically be filled if the JSON is in the same directory as the installer.
- Wrap the MSI file as a Win32 application. Download the IntuneWinAppUtil file from here – GitHub – microsoft/Microsoft-Win32-Content-Prep-Tool: A tool to wrap Win32 App and then it can be uploaded to Intune.
- Place the Umbrella MSI installer in a folder with no other files. Run the IntuneWinAppUtil tool and specify the folder where the Umbrella MSI installer is located, the setup file name, and the destination folder where you want the .intunewin file to be sent. Answer N when asked to specify a catalog folder.

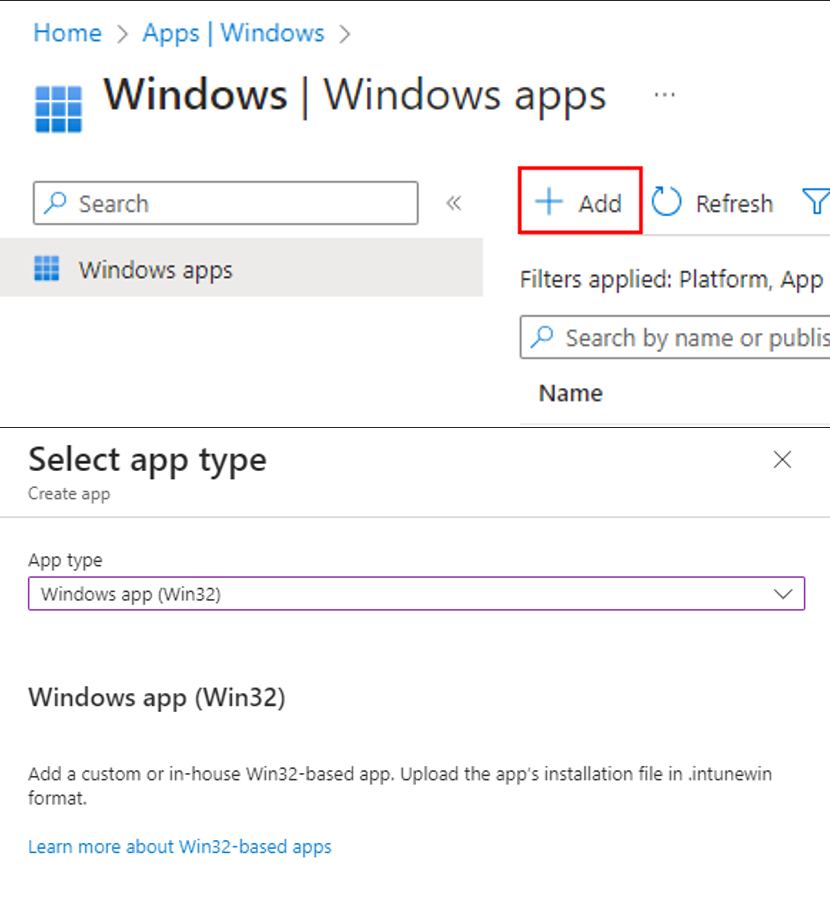
- Navigate to https://intune.microsoft.com and then to Apps > Windows. Click the Add Button and select Windows app (Win32) from the drop-down menu:
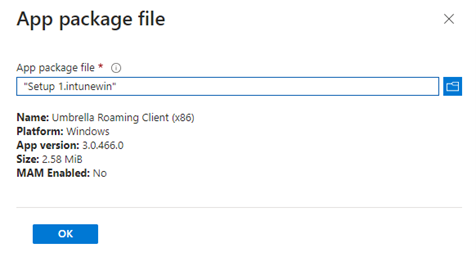
- When prompted to select the app package file, select the .intunewin file we created in step six and click OK.
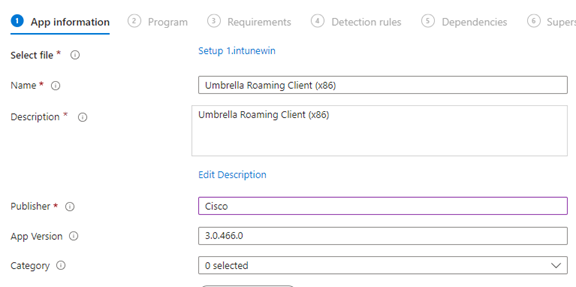
- Add a publisher in the App Information tab. The other required fields should already be completed from the information extracted from the MSI file. Click Next.
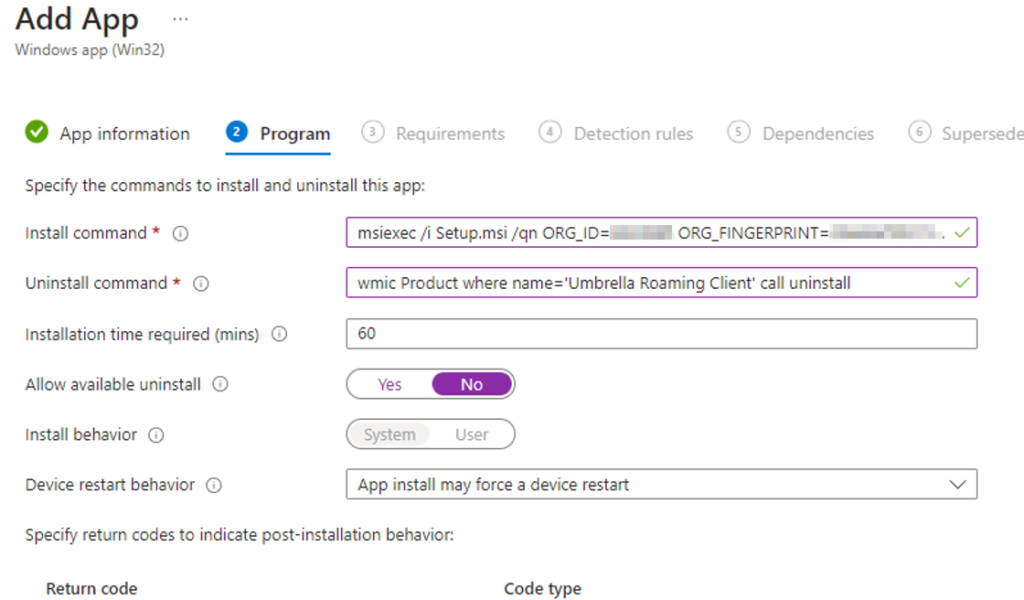
- Under the program tab copy paste the install string from the ReadMe file. The uninstall string should be wmic Product where name=’Umbrella Roaming Client’ call uninstall
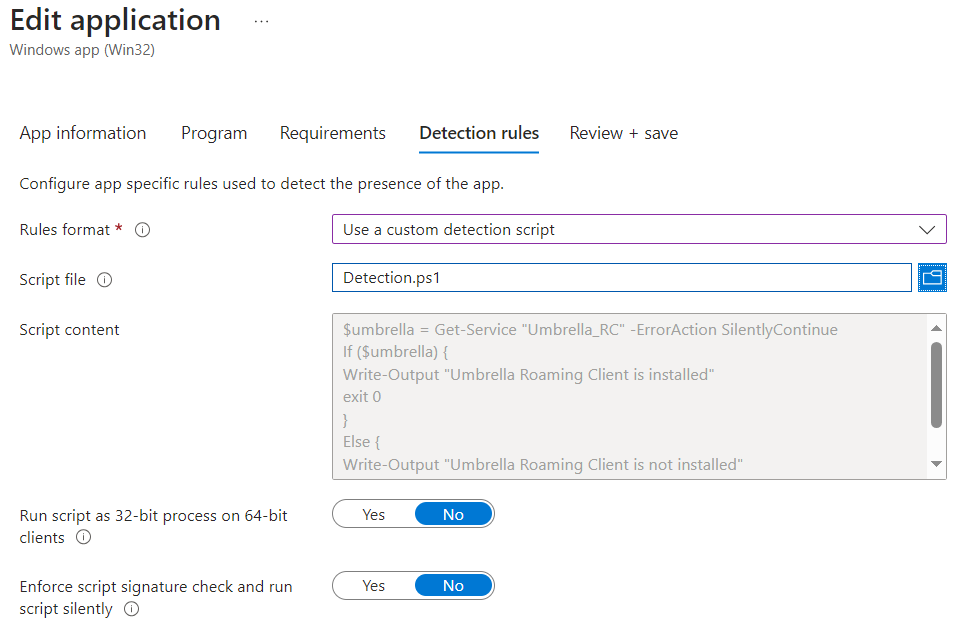
- Continue to the requirements section and add your requirements. For the detection rule, we can use the MSI code, or we can use a custom detection script that looks for the Umbrella service. The detection script is available here if you want to use that method.
- Assign to your groups, and you’re all finished.
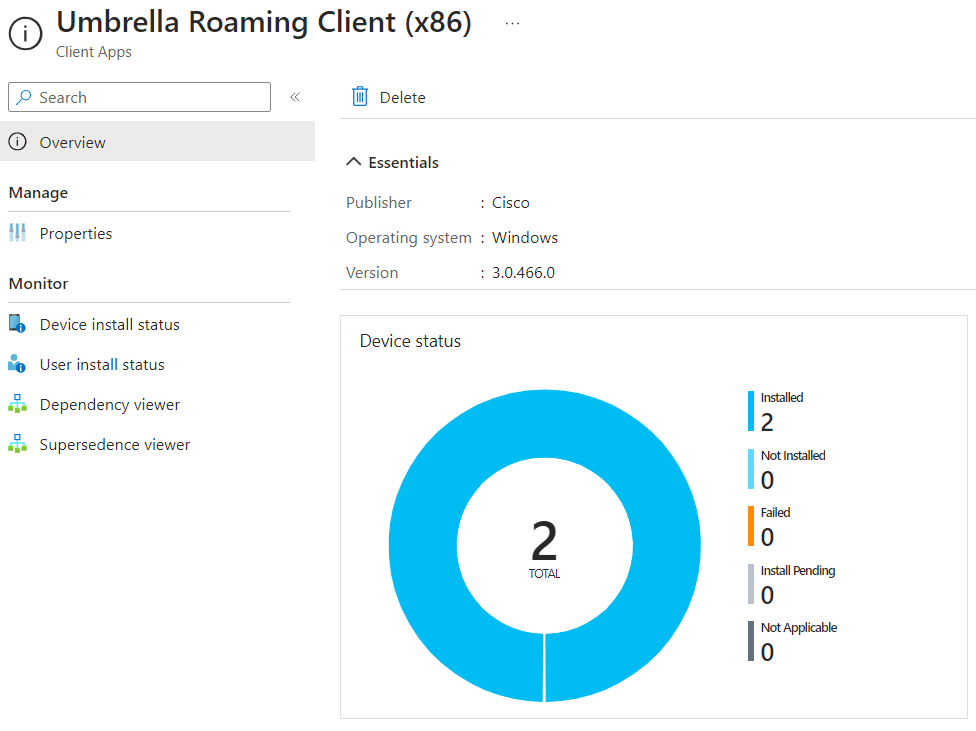
All Done 👍🏻