After getting some questions recently about deploying S1 with Intune and noticing some documentation still instructing people to use an MSI LOB app (ew), I made a quick guide on how to deploy the S1 agent to Windows workstations. Hope this helps.
- Download the SentinelOne MSI installer. You can use the EXE installer, but the MSI is preferred and easily obtained through the S1 dashboard.
- Download the intunewin content prep tool from this link – https://github.com/microsoft/Microsoft-Win32-Content-Prep-Tool/raw/master/IntuneWinAppUtil.exe
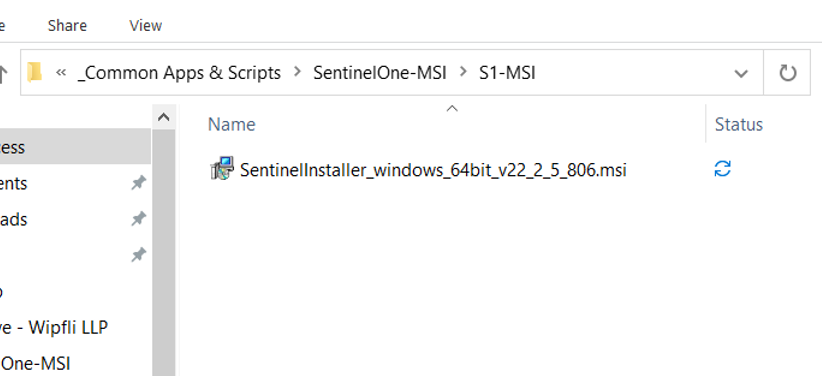
- Put the SentinelOne installer in a directory with no other contents:
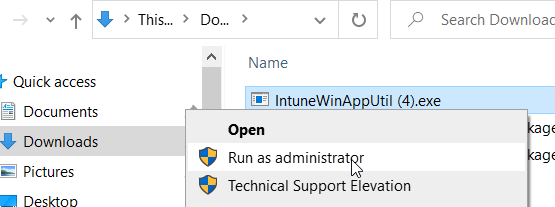
- Right-click the IntuneWinAppUtil.exe file we downloaded in step 2 and run it as administrator:
- When prompted for the source folder, enter the folder path containing the MSI installer (and no other files) from step 3. When prompted for the setup file, use the full name and extension of the SentinelOne MSI installer. For the destination folder, you can use the same folder where the MSI file is located. Enter N when asked to specify a catalog folder and press enter. It may take 5-10 seconds for the utility to finish packaging the installer.

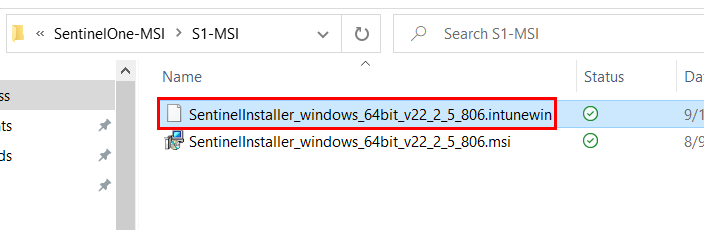
- When the utility completes packaging the installer, you should have an intunewin file located in the destination directory:
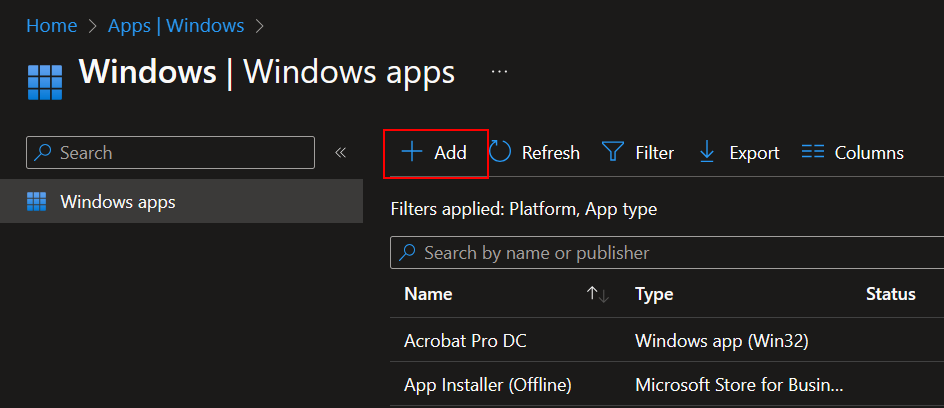
- Sign in to the Intune dashboard at https://intune.microsoft.com
- From the Intune dashboard, Navigate to Apps > Windows and select +Add from the top menu:
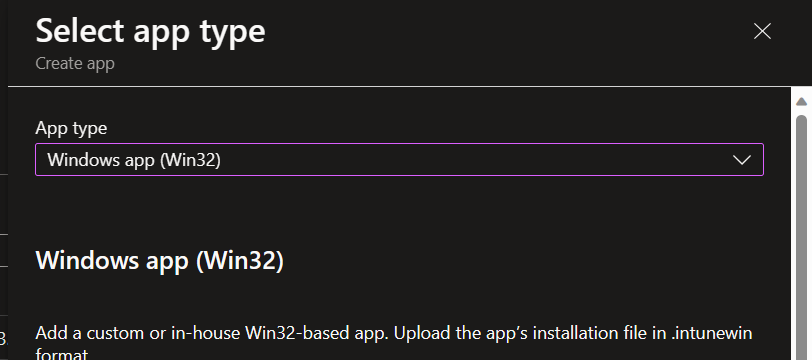
- When prompted for which type of app, select Windows app (Win32) from the dropdown, and click the select button
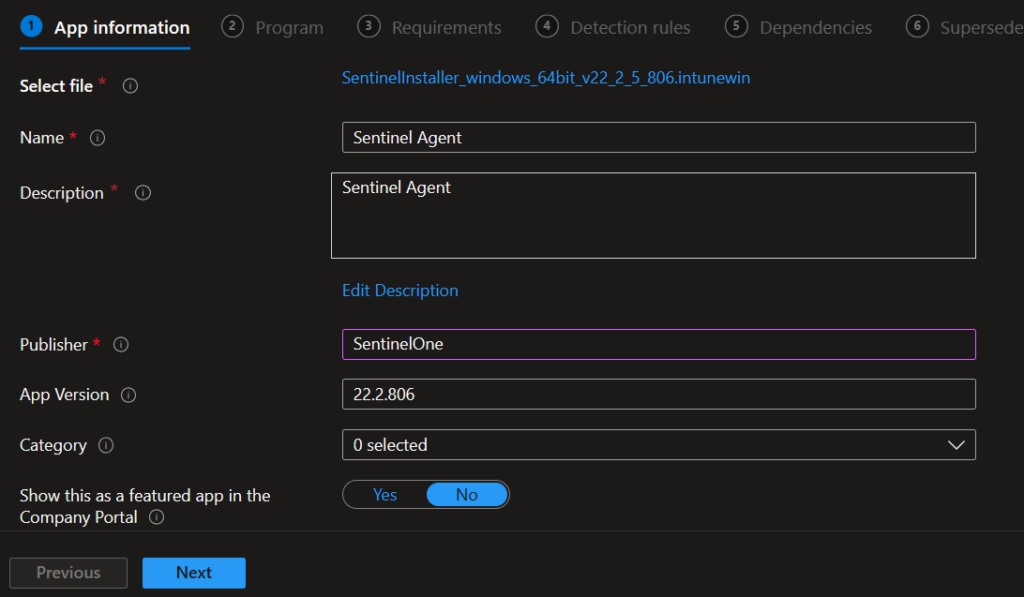
- You’ll be prompted to select an app package file. Click the link to select app package file, and then browse to the .intunewin file we created in step 5. Click OK to continue:
- On the App Information page, add a publisher. The rest of the data should auto-populate, but you can change it if you’d like to. Click Next to continue.
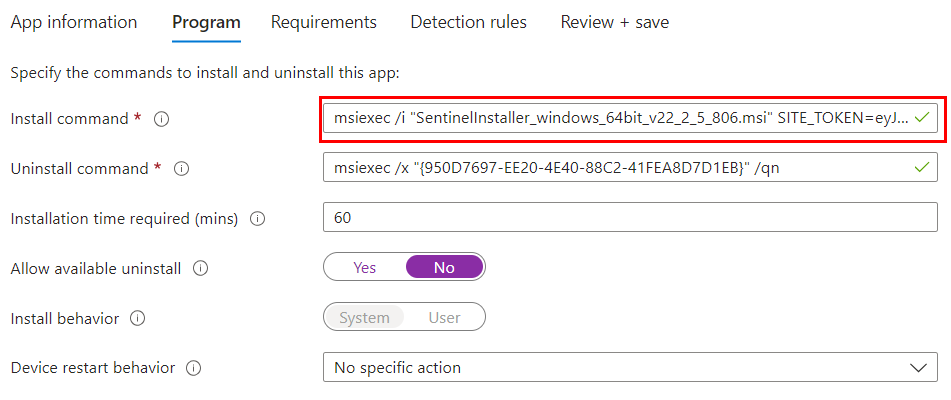
- We need to make some changes to the program tab. For the install command, we need to add the site token, and we need to change the allow available uninstall to No. The syntax we need to use for the installer is below. Replace your site token where the Xs are. We can leave the uninstall command alone since S1 is managed and removed through the S1 dashboard
- Install Command: msiexec /i “SentinelInstaller_windows_64bit_v22_2_5_806.msi” SITE_TOKEN=xxxxxxxxxxxxxxxxxxxxxxxxxxxxxxxxxxxxxxxxxxxxxxxxxxxxxxxxxxxxxxxxxxxxxxxxxxxxxxxxxxxxxxxxxxxxxxxxxxxxxxxx /Q /NORESTART
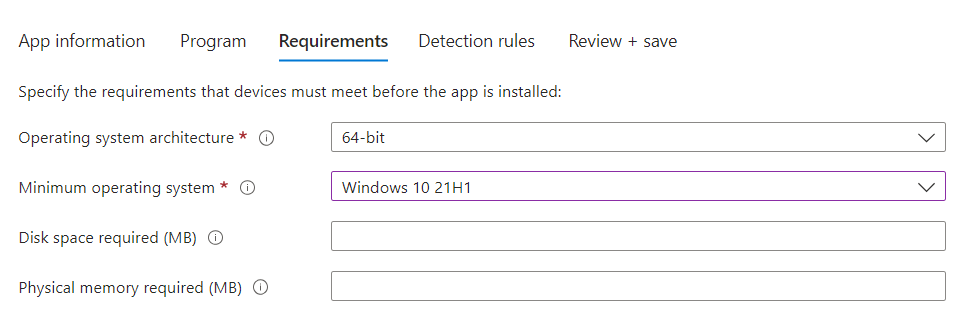
- Complete the requirements section with your OS architecture and minimum level of Windows. If you have additional requirements in your environment, you can add them here.
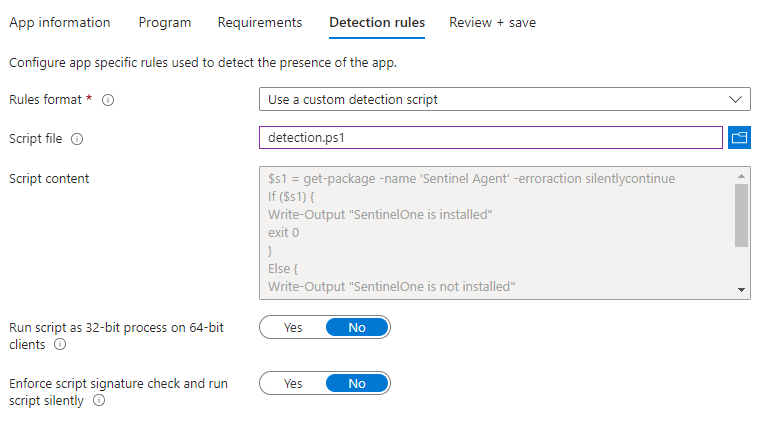
- Under detection rules, we should use a custom detection script. The MSI GUID is susceptible to change over time as new versions are released, which will result in false negatives with installation status. We can use either of the below custom detection scripts. Either will accomplish what we need. One looks at the installed software list and the other looks for the sentinelagent service:
$s1 = get-package -name 'Sentinel Agent' -erroraction silentlycontinue
If ($s1) {
Write-Output "SentinelOne is installed"
exit 0
}
Else {
Write-Output "SentinelOne is not installed"
exit 1
}
$s1 = Get-Service "SentinelAgent" -ErrorAction SilentlyContinue
If ($s1) {
Write-Output "SentinelOne is installed"
exit 0
}
Else {
Write-Output "SentinelOne is not installed"
exit 1
}
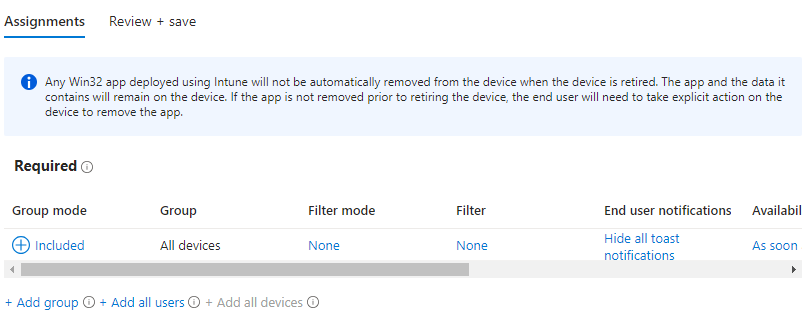
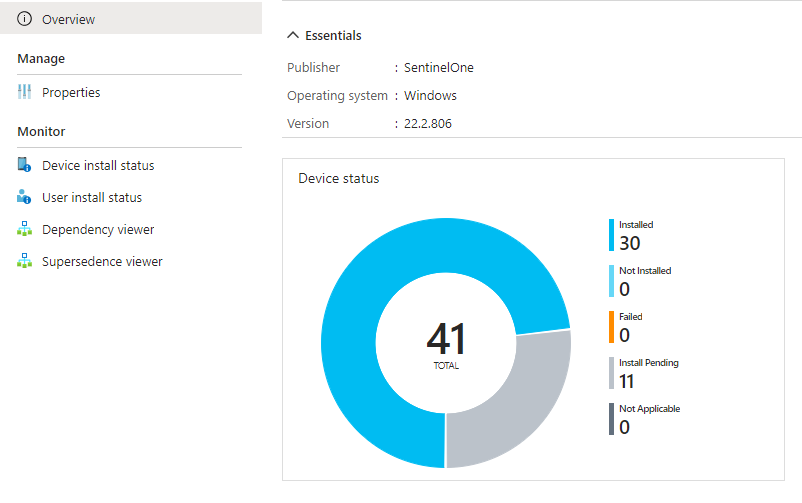
- Lastly, assign to your desired device groups. In most cases, this will be all devices. After assigning, check back after a couple of hours and verify successful installs: