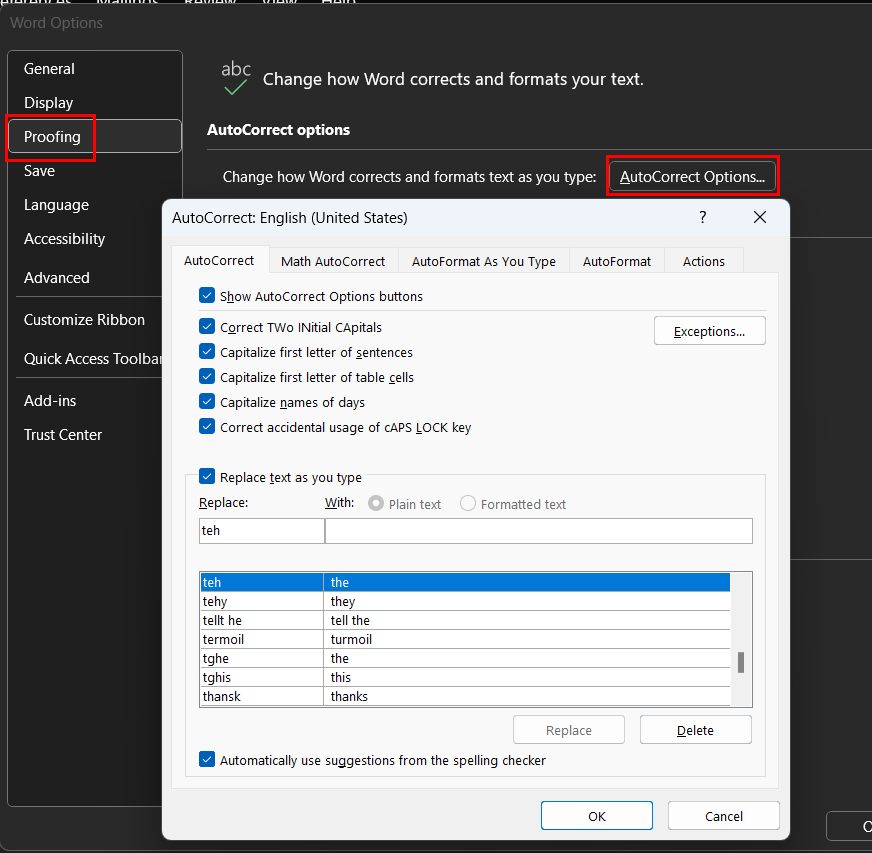
Most organizations are fine using the built-in autocorrect options in Microsoft Word. AutoCorrect will automatically fix commonly misspelled or mistyped words. For example, you may mistakenly type “teh” instead of “the”. AutoCorrect will automatically correct “teh” to “the” for you. The dictionary of autocomplete settings can be found in Word > File > Options > Proofing > AutoCorrect Options, and selecting the AutoCorrect tab:
There may be specific acronyms you don’t want autocorrected, though. For example, in the US medical field, CNA stands for Certified Nursing Assistant, but AutoCorrect automatically changes “cna” to “can.”
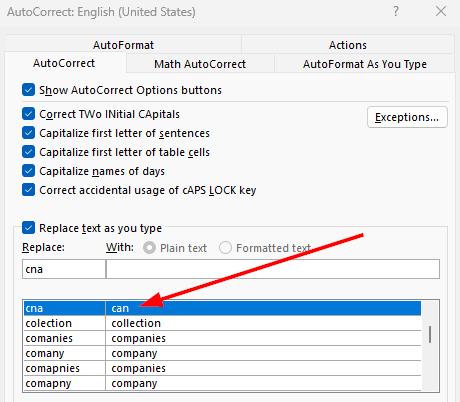
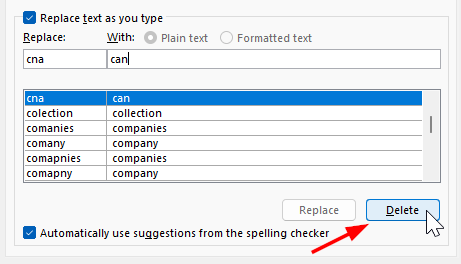
We can manually correct this by simply deleting the entry on affected computers:
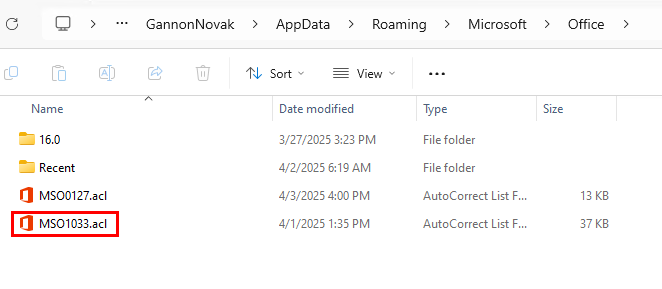
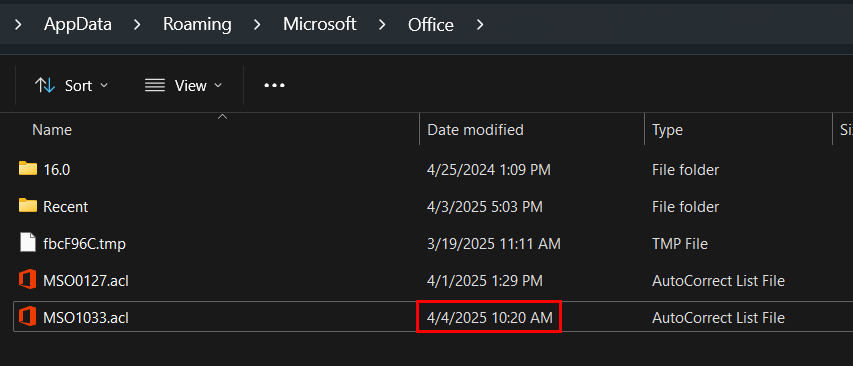
If we want to push these changes to our workstations automatically, we need to figure out where the autocorrect data is stored and then try deploying it to our endpoints. This was a Windows-only environment, so all these steps are specific to Windows. The file containing the settings referenced by AutoComplete is located in the user profile under %appdata%\Microsoft\Office (full path being c:\users\username\appdata\roaming\microsoft\office).
In that directory, you’ll see acl files named according to the languages installed. For US English, you’ll see a file named “MSO1033.acl”
If you have multiple language packs installed, you must match up your language with the Local Identifier. The table below has some of these listed:
| Language | LCID | File Name Example |
|---|---|---|
| English (United States) | 1033 | MSO1033.acl |
| English (United Kingdom) | 2057 | MSO2057.acl |
| French (France) | 1036 | MSO1036.acl |
| Spanish (Spain) | 3082 | MSO3082.acl |
| German (Germany) | 1031 | MSO1031.acl |
| Portuguese (Brazil) | 1046 | MSO1046.acl |
| Chinese (Simplified) | 2052 | MSO2052.acl |
| Chinese (Traditional) | 1028 | MSO1028.acl |
| Japanese | 1041 | MSO1041.acl |
| Korean | 1042 | MSO1042.acl |
| Russian | 1049 | MSO1049.acl |
| Italian (Italy) | 1040 | MSO1040.acl |
| Dutch (Netherlands) | 1043 | MSO1043.acl |
| Arabic (Saudi Arabia) | 1025 | MSO1025.acl |
Now that we have this part figured out, we need to make the Autocomplete changes we want on a reference machine, and after those changes are made, deploy the .acl file to our target machines.
To make the required changes to your AutoComplete entries, open Word > File > Options > Proofing > AutoCorrect Options, make your changes, and click OK. The .acl file should show the last modified time from the time you made the new changes.
Copy that file and place it in a directory with the install script below (also on GitHub). One other note, the directory that holds the .acl file won’t exist until Word is launched for the first time. So, we will create the directory if it doesn’t already exist. In addition, the script will generate a dummy file that we will use for our detection method. We can’t simply check to see if the acl file exists, because it exists on any machine that has already launched Word. We also don’t want to detect based on the timestamp of our acl file, because if the user makes their own changes to autocomplete, then our app will overwrite them if the date does not match our deployed file.

$destinationpath = "$env:APPDATA\Microsoft\Office"
$destexists = test-path $destinationpath
If (!$destexists) {
New-Item -Path $destinationpath -ItemType Directory -Force
}
Copy-Item .\MSO1033.acl -Destination $destinationpath -Force
#Check for copied file
$aclexists = Test-Path "$destinationpath\MSO1033.acl"
If ($aclexists) {
New-Item -Path "$env:APPDATA\Microsoft\Office\AutoComplete040425.txt" -ItemType File -Force
}
else {
Write-Output "ACL file copy failed"
}
The rest is straightforward. We will use a Win32 app to deploy our autocorrect settings. Create a new Win32 app and upload the .intunewin file we just created. Provide the required app information.

For our install script, we use the command below. We also want to make sure we are installing in the user context. This is important because the autocomplete files are located in the user’s profile, meaning each user has their own acl file.
powershell.exe -executionpolicy bypass .\install.ps1
As previously mentioned, we are creating a detection file as part of the install script. I have it create an empty txt file with the date as part of the file name. If you ever need to make changes to this app in the future, you can change the date in the name of the txt file.

Deploy to your target groups and the devices will receive the edited autocorrect settings at the next check-in.
