As an Intune admin, you end up with a collection of test devices…. Windows VMs, Windows physical devices , Android, iOS, macOS, Linux, and the only one missing from my arsenal… Windows ARM. I had a client who recently added some Windows ARM devices, and I wanted to do some testing with Inune policies and deployments. So, I needed to get my hands on a Windows ARM device, or find a way to virtualize or emulate Windows ARM with what I already had. My daily driver for work tasks is a beefy Intel Windows 11 device, but I also have a Macbook Air M4.
I found some evidence that people got Windows ARM emulation working on x86 CPUs, but it sounded like more work than it was worth, and the performance seemed abysmal. Not good for autopilot, which is sensitive to timing. Typically, when virtualizing systems, you want the virtualized guest CPU architecture to match the host system for best compatibility and performance. Fortunately, my macOS device had an M4 ARM CPU, so I did a bit of research and found a few methods for virtualizing Windows ARM on macOS. Keep in mind that these will only work if you have an Apple Silicon CPU.
- Parallels (Paid)
- This consistently had the highest marks and is easiest to. use, but its also a paid platform at $100/yr
- VMware Fusion (Free, but you need an account)
- Free to use, but you need a broadcom account and need to accept their terms of use. This is the method we will focus on in this blog since it is Free, and was simple to configure.
- UTM (Free)
- I did not test UTM, but this was another free option that came up while searching.
As I mentioned – we will focus ths rest of the blog on leveraging VMWare Fusion to virtualize Windows ARM. You’ll need a broadcom account to download VMWare Fusion. After creating your account, navigate to this link to get directly to the VMware Fusion downloads.
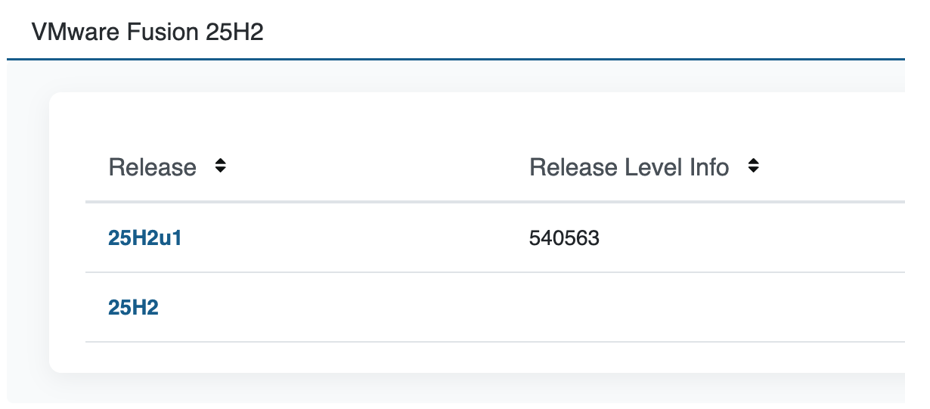
Select and download the latest release, which at time of writing is 25H2u1
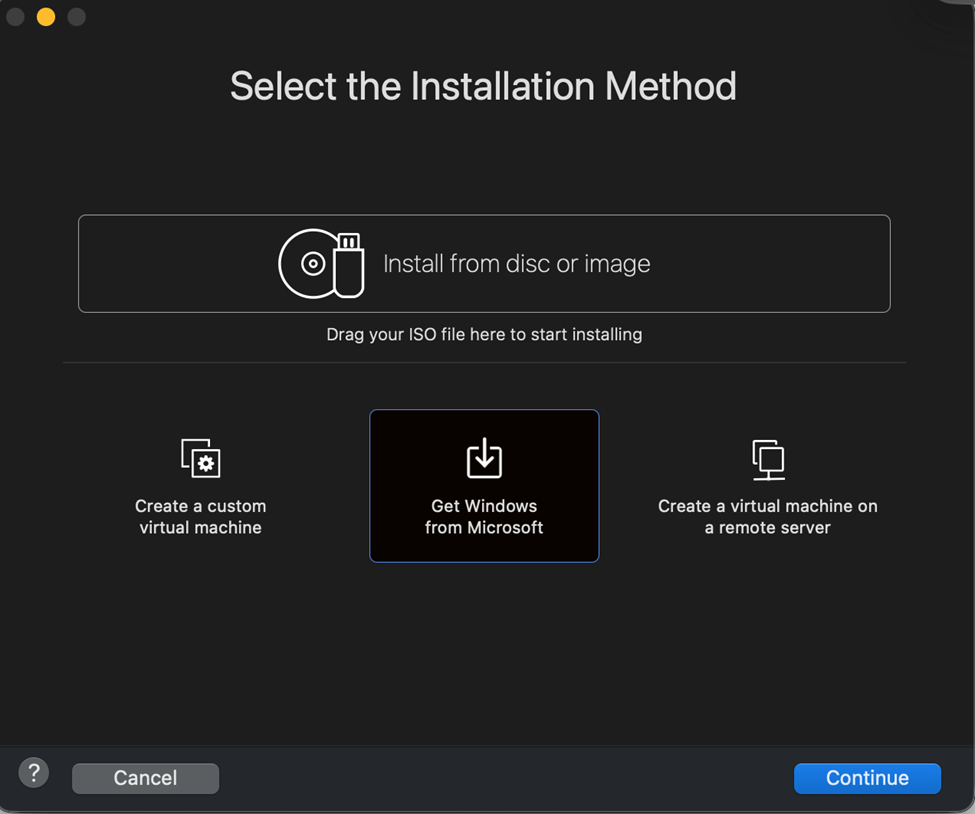
After launching for the first time, you’ll be prompted to allow access to the mouse/keyboard, then you’ll be presented with the wizard to create a new virtual machine. Select Get Windows from Microsoft and click continue:
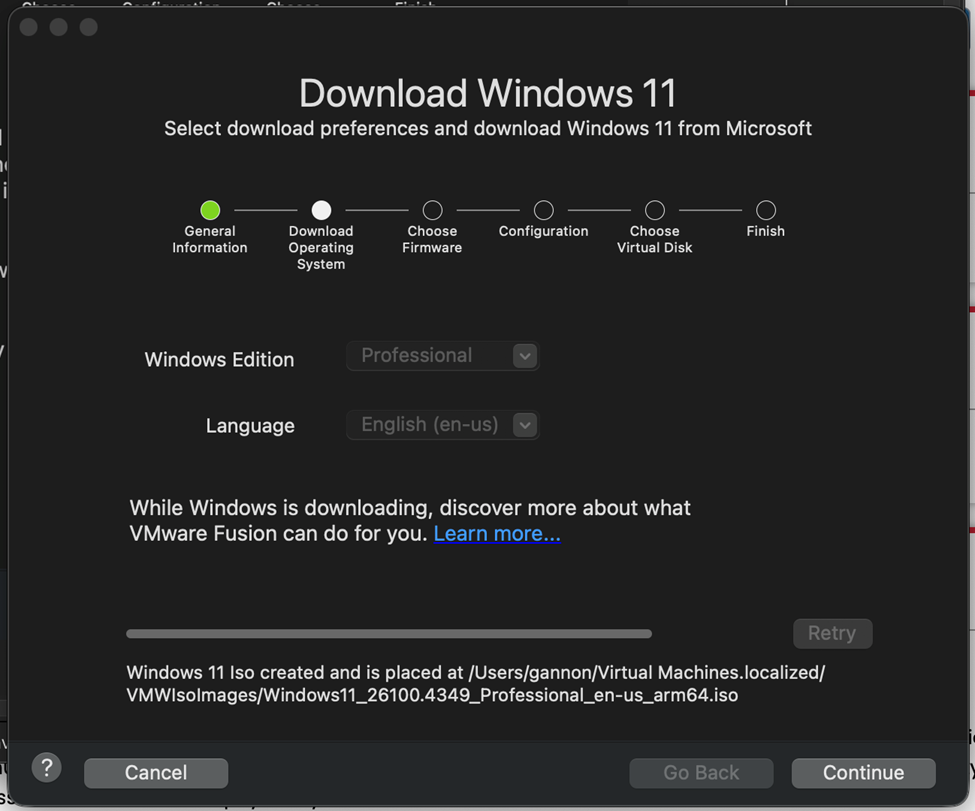
We can follow the rest of the steps to chose our Edition and Version. It will default to the architecture of the host CPU. You can see the ARM version in the name of the ISO:
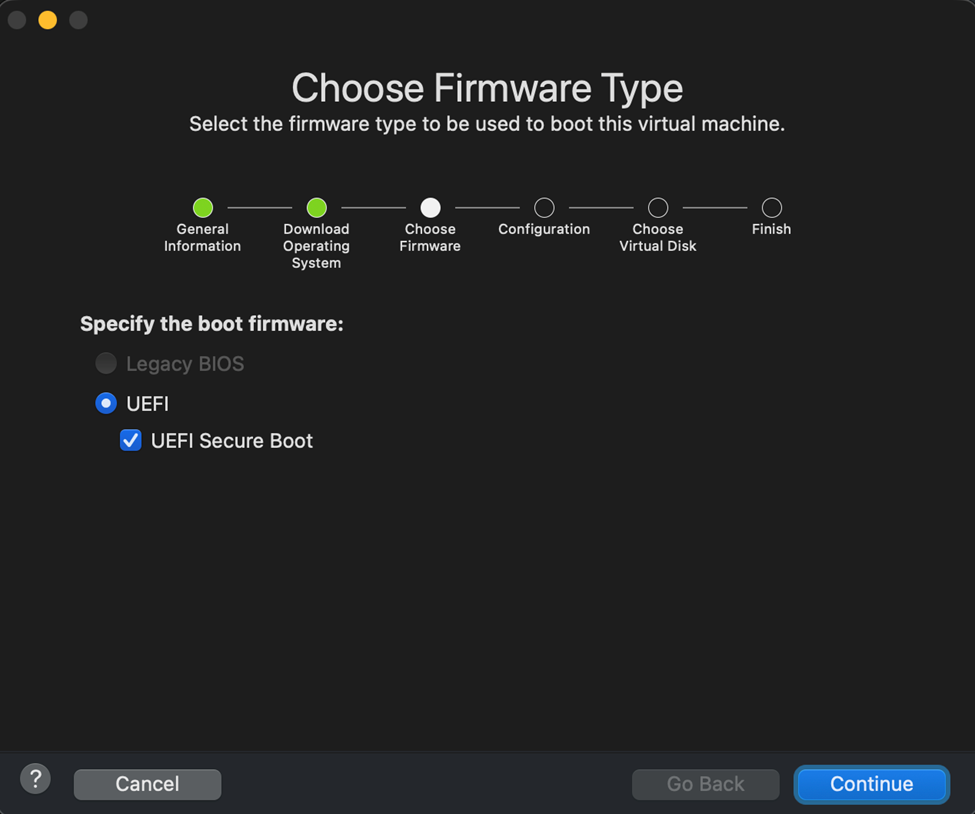
Select UEFI with Secure Boot:
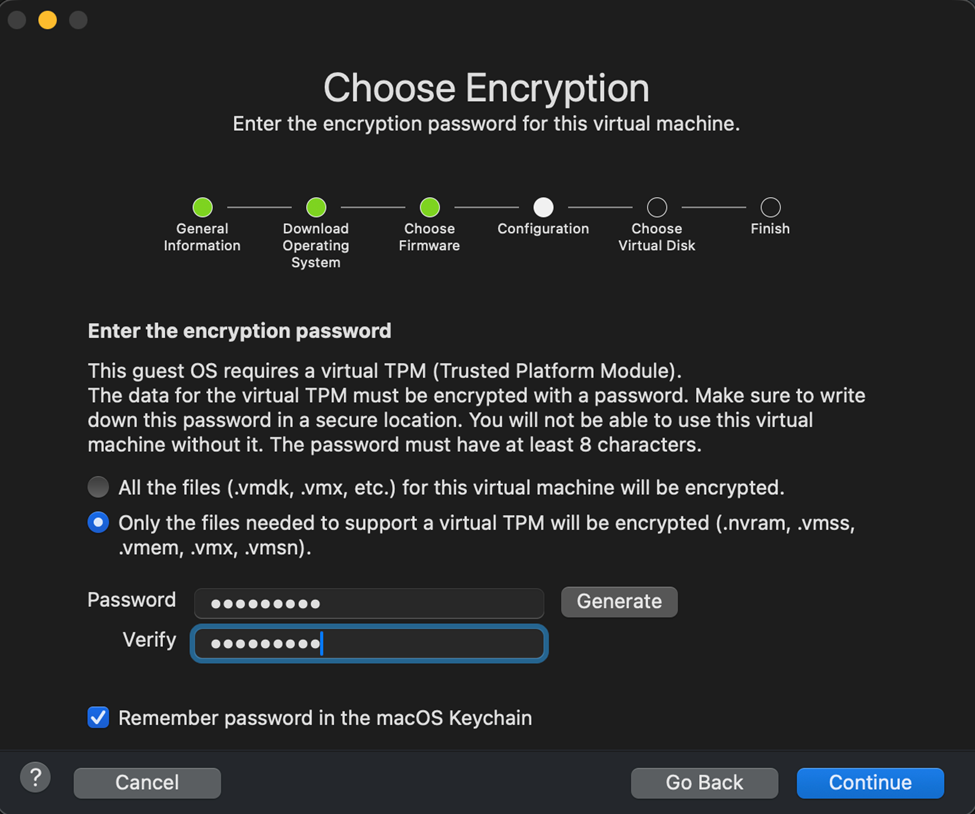
Create an encryption password and continue:
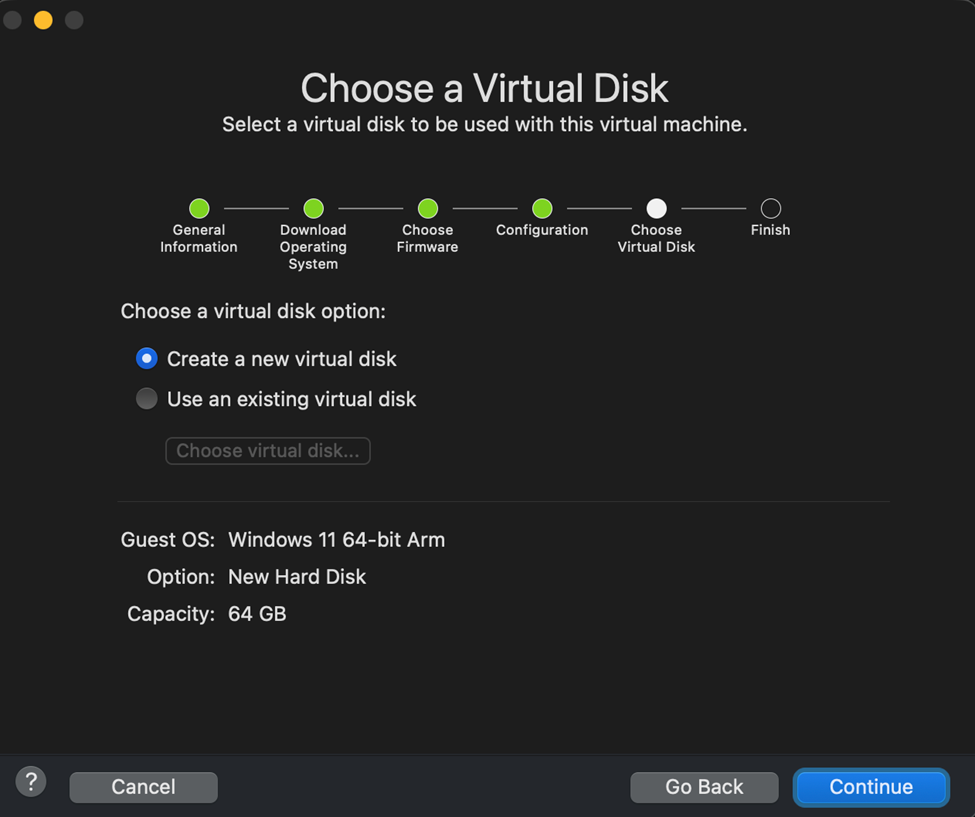
Chose to create a new virtual hard disk:
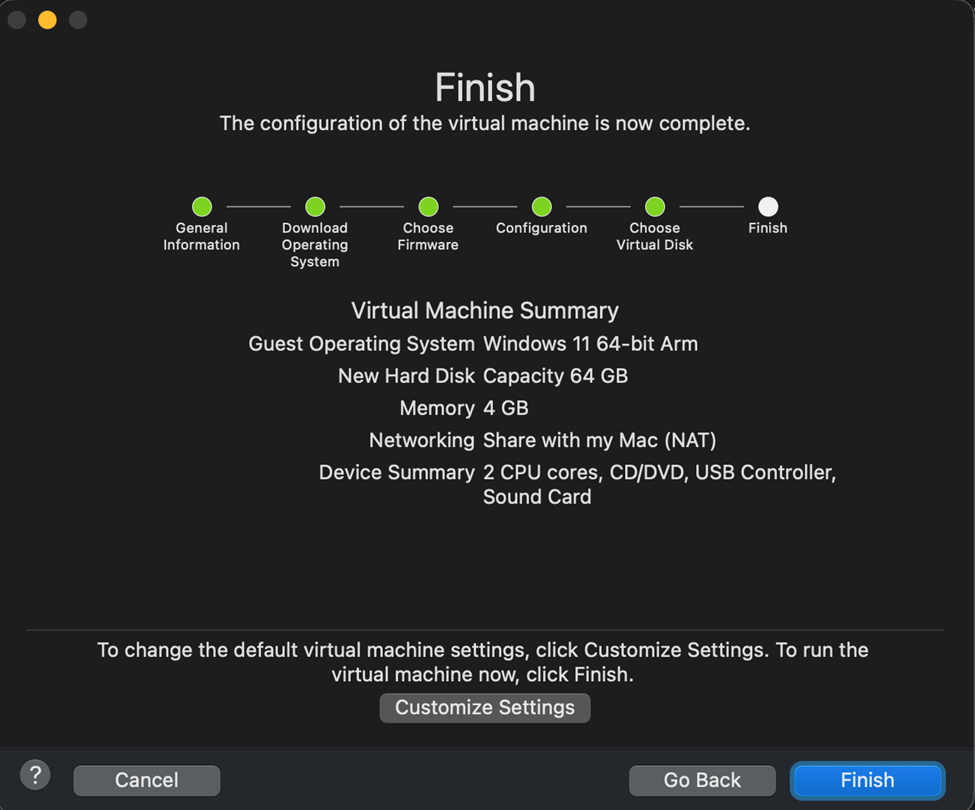
For testing, I will take the defaults of 2vCPU and 4 GB of RAM. You can customize the specs if you’d like. Click finish when done:
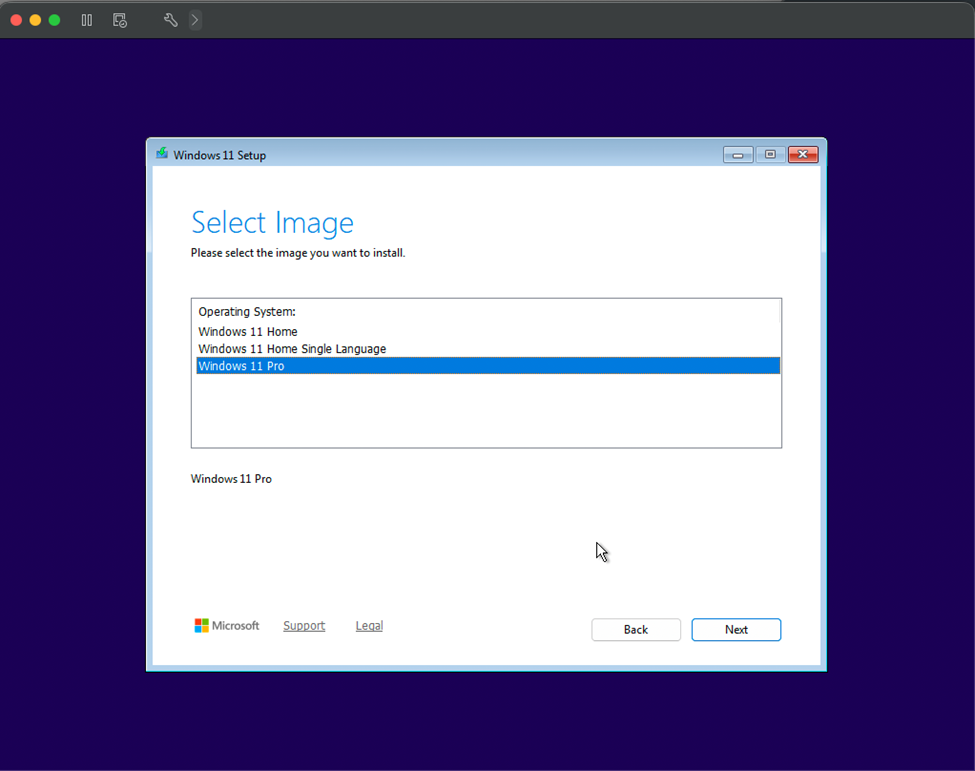
The ISO will be mounted and the VM will boot. From here, you can go through all the Windows install steps, which I won’t cover here.
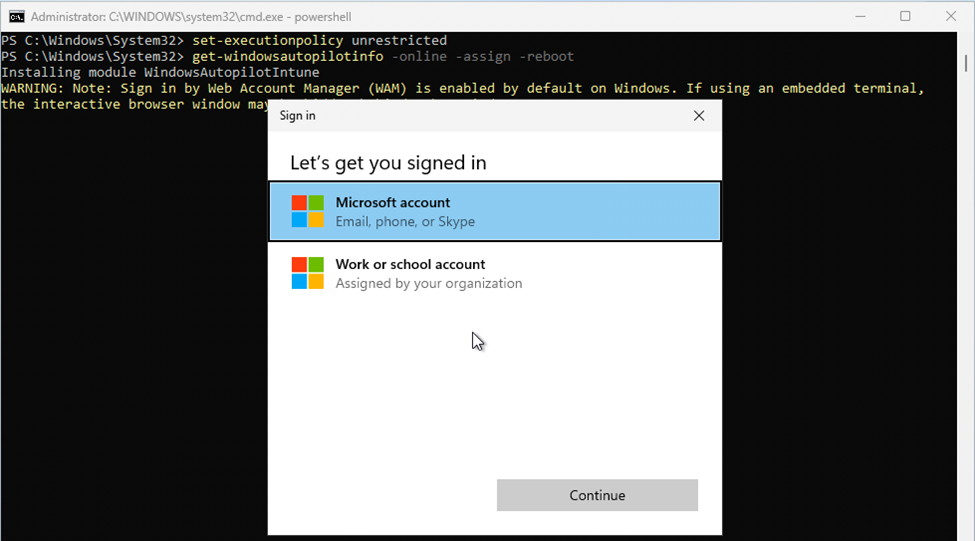
And after Windows is installed, we can register our new VM with autopilot the same way we do with an x86 system:
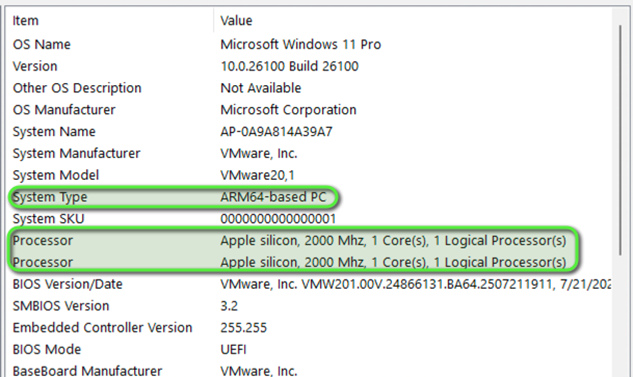
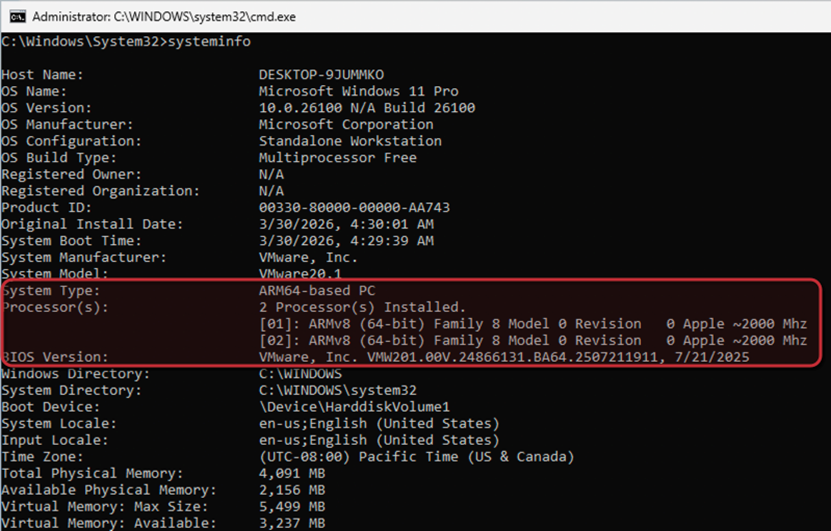
And we can verify that the system is showing as an ARM based PC running on Apple silicon:
That’s all 👍